How To Enjoy Oysters At Home (2020 Update)
We all love to order raw oysters when we dine out, but have you ever considered bringing the half shell experience back home? It’s surprisingly easy, affordable, and fun! I will explain how.
Author’s note: This blog post was originally published on March 5, 2012 but has been revamped and updated for accuracy and comprehensiveness.
Step 1: Buy the Oysters
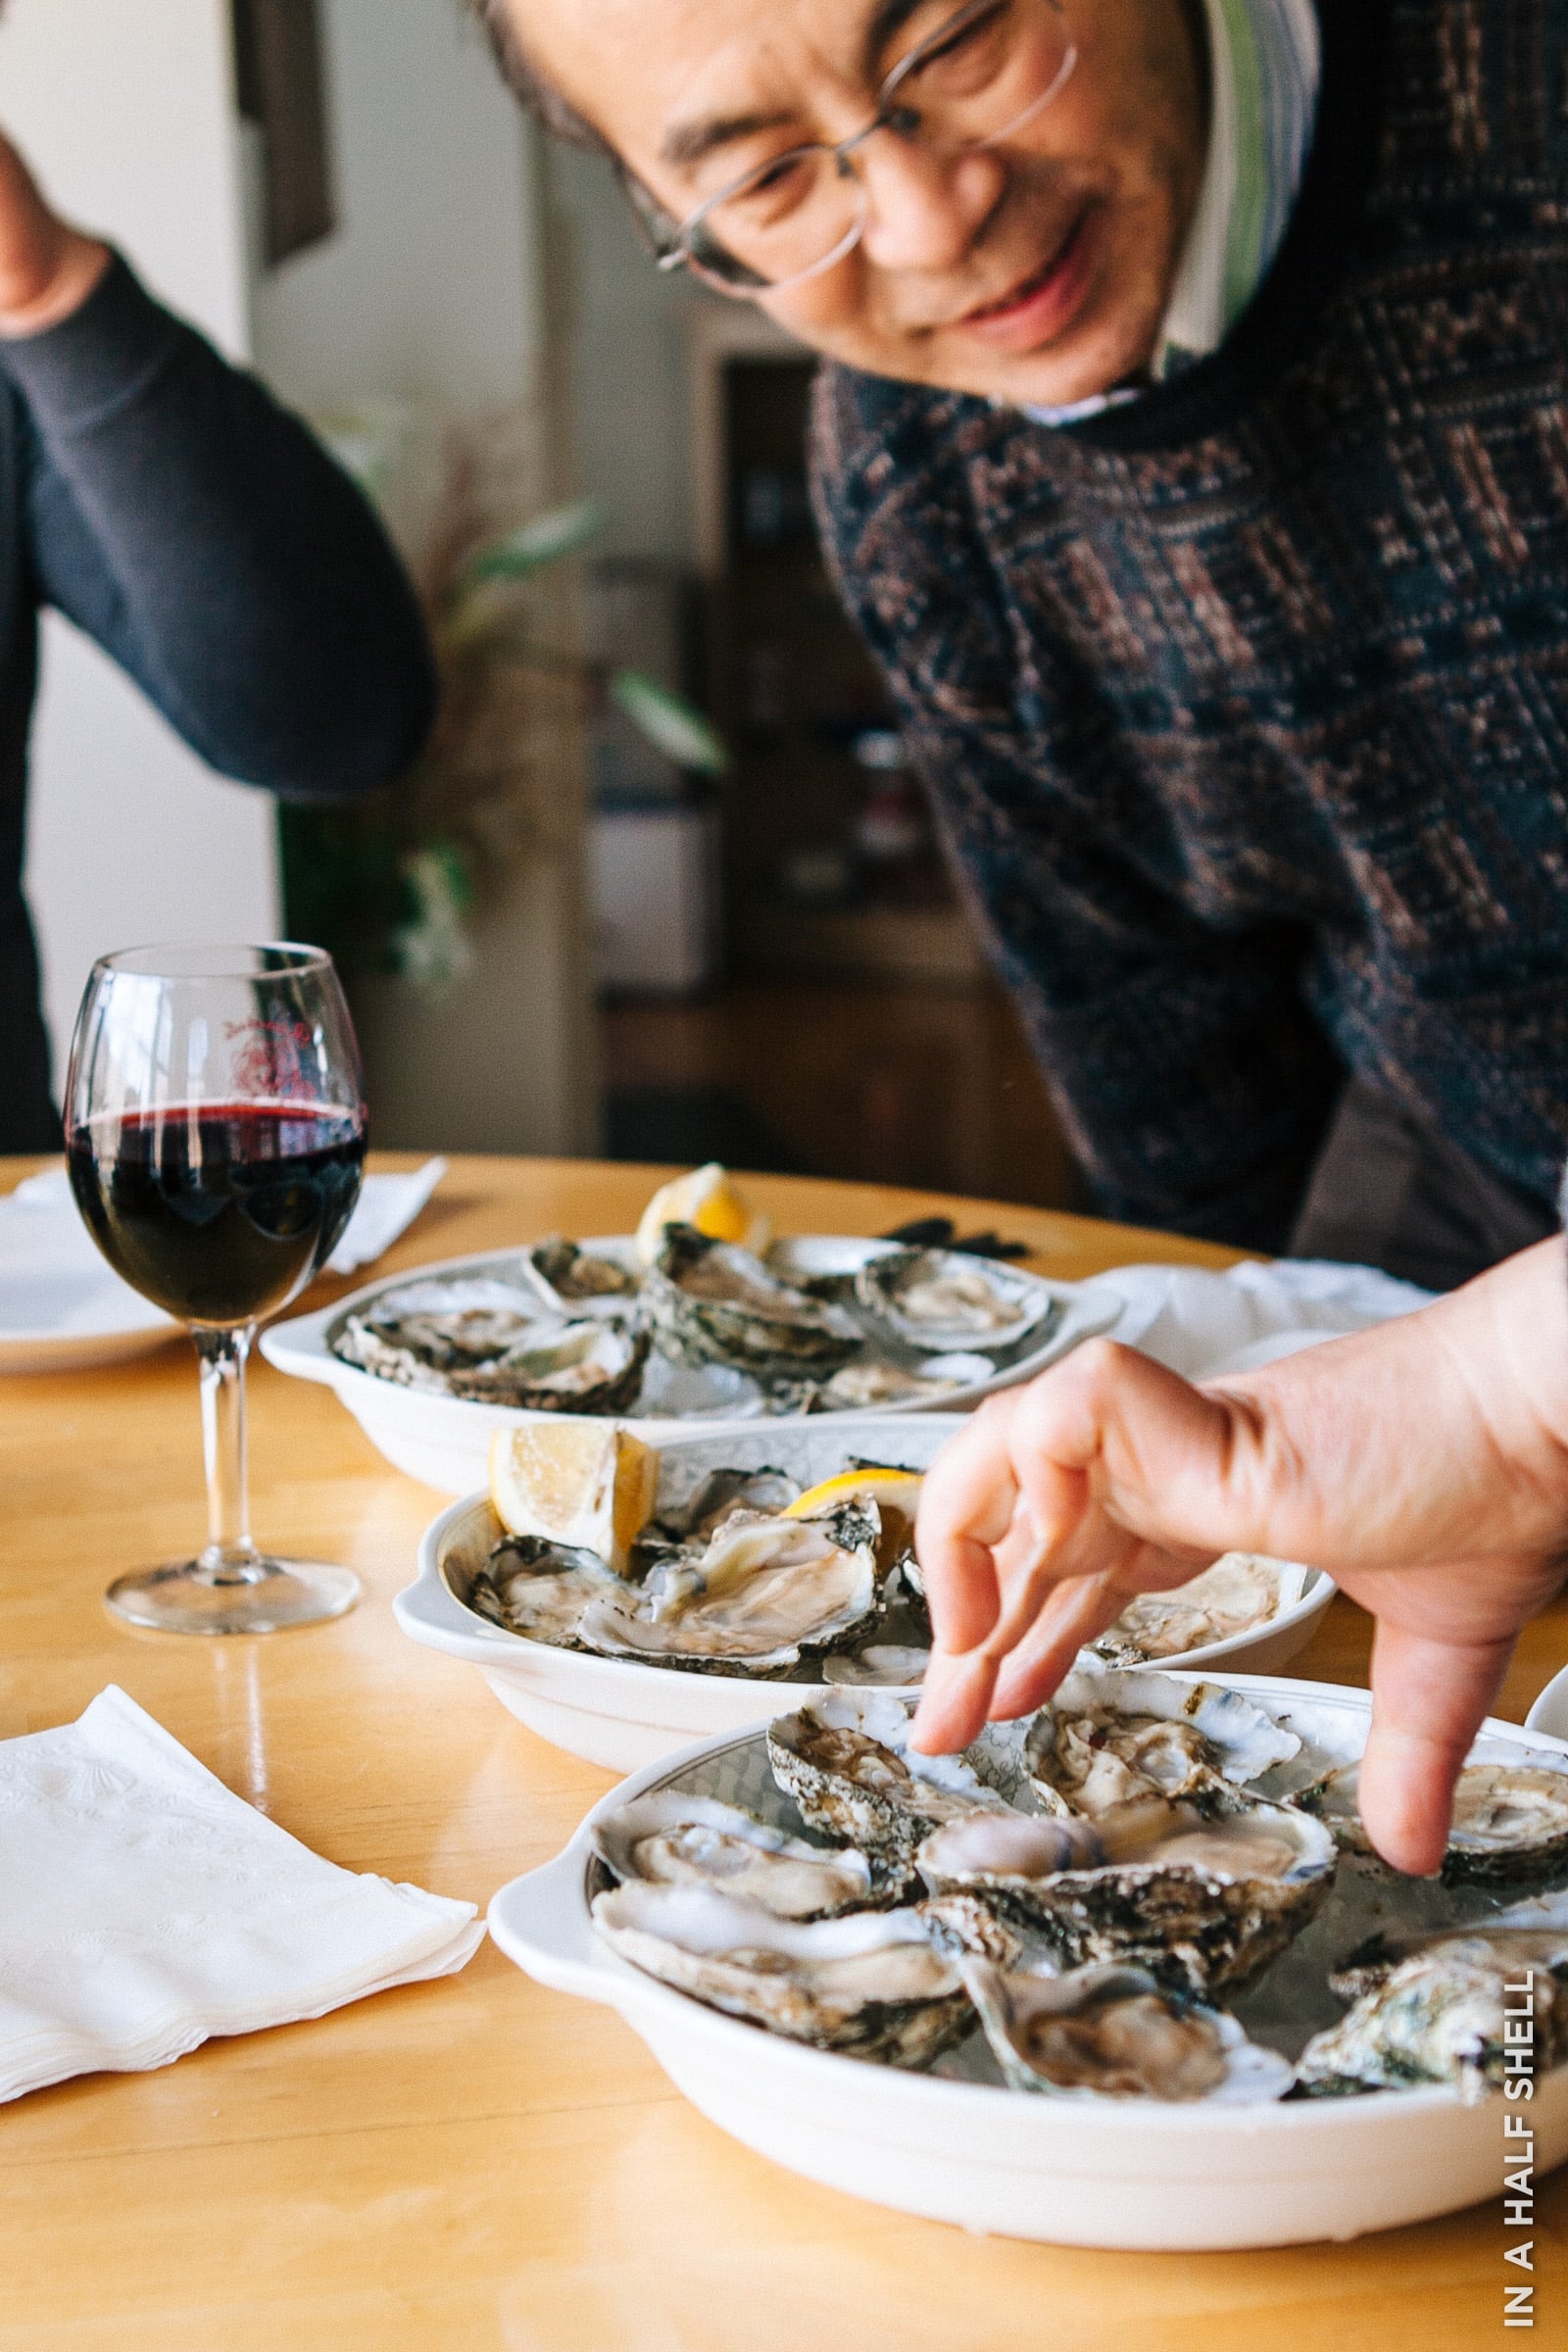
I must have gotten my taste for oysters from my parents, because they love them as well. The last time when we all got together, we went out for oysters in their area. For my mom's birthday this year, I wanted to do things a little bit differently. I wanted to bring the oyster bar experience to them.
I ordered four dozen York River Oysters from Tommy Leggett and had them delivered to their doorstep in (the middle of nowhere) Connecticut.
From my experience, the best place to buy oysters is definitely directly through the oyster farmers. Oyster farmers are the keepers of the freshest goods and tend to offer the lowest prices. You should be able to find East Coast and West Coast oysters for about $1-$2 apiece (or sometimes less). Farmers also are intimately familiar with their products so you know exactly where your seafood is coming from, and that is rarely the case at your local supermarket. A downside is that most growers only sell a few varieties if any at all to consumers. If you want to sample a variety of oysters, investigate seafood distributors or retailers.
Here’s a list of oyster growers who ship their oysters nationally:
Check out my Oysters for Home Delivery / Local Pickup page for farms that are closer to your area.
How to buy the best and freshest oysters from your local seafood counter:
Ask to try a sample to determine its freshness (even if you have to pay for it, it'll be well worth it)
Ask to see the bag tag and examine the harvest date
Ask to handpick the oysters if possible, and try to select the heaviest ones
Examine your purchase: make sure none of the oysters are dead (the shells will be open and won't close when tapped)
You received your oyster shipment. Now what?
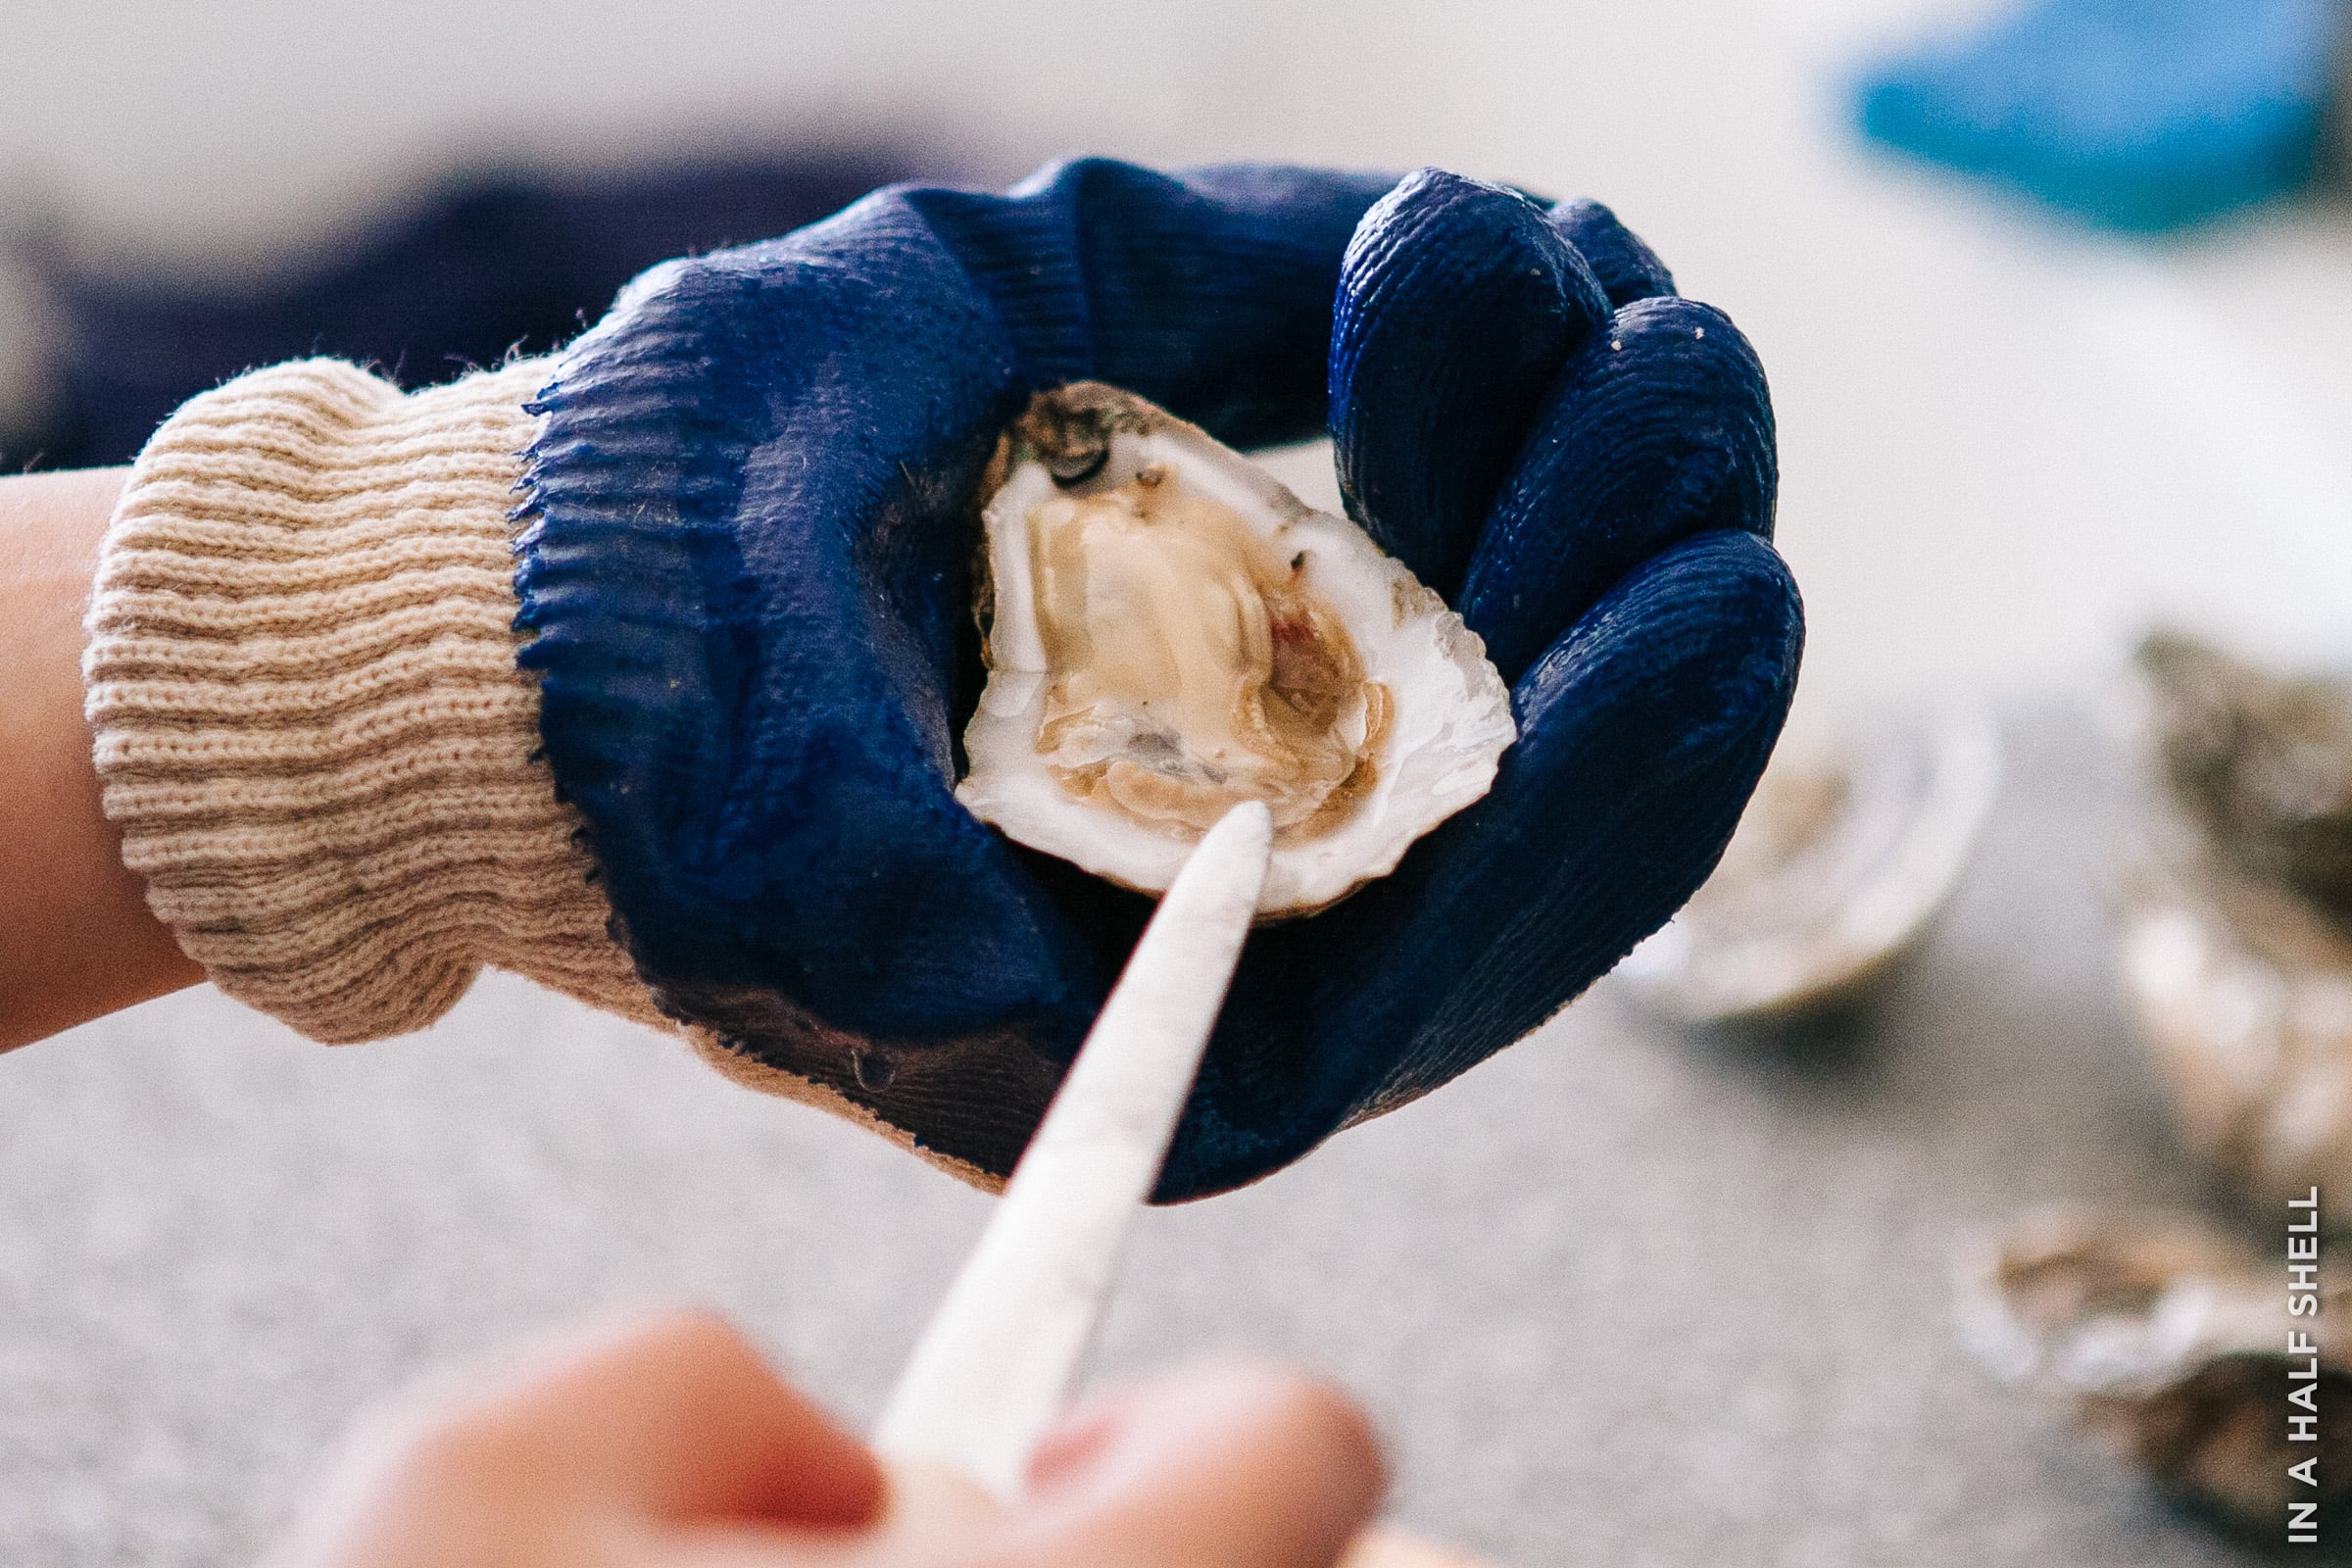
If you ordered oysters to be shipped to your door, make sure that you open the package immediately upon its arrival. There will be a couple of gel packs inside the box, which should still be frozen or very, very cold. I still suggest opening at one or two oysters to check the quality upon arrival. Also, be careful if you want to keep them over ice. As the ice melts and temperature rises, the freshwater can kill the oyster if they're submerged for an extended period of time, and decide to open back up. Fresh and live oysters will glisten in their shells and should also contain a good amount of liquor. To test its "alive-ness," scrape a fork prong along its mantle (outermost circumference of flesh). It should/might slowly shrink back.
How to store your live oysters to keep them happy:
If you're not planning to consume the oysters immediately when you receiving them, store them in the fridge at 38-40 degrees F, but take care NOT to freeze them. Covering them with a damp (not sopping wet) paper towel or kitchen towel is optional. Try your best to keep all of cup sides down. They can be kept happy and alive for several days, if not weeks, in that state.
Step 2: Prepare Oyster Shucking Equipment
You don't need to be equipped with much to enjoy raw oysters, but it's important to be safe and use the right tools. All you need to be is:
An oyster knife! Not to be confused with a clam knife or kitchen knife, santoku knife, butter knife, etc.
Some form of hand protection: kitchen towel or shucking glove (Some people are cocky confident enough to shuck barehanded, but I consider that to be a risky proposition!).
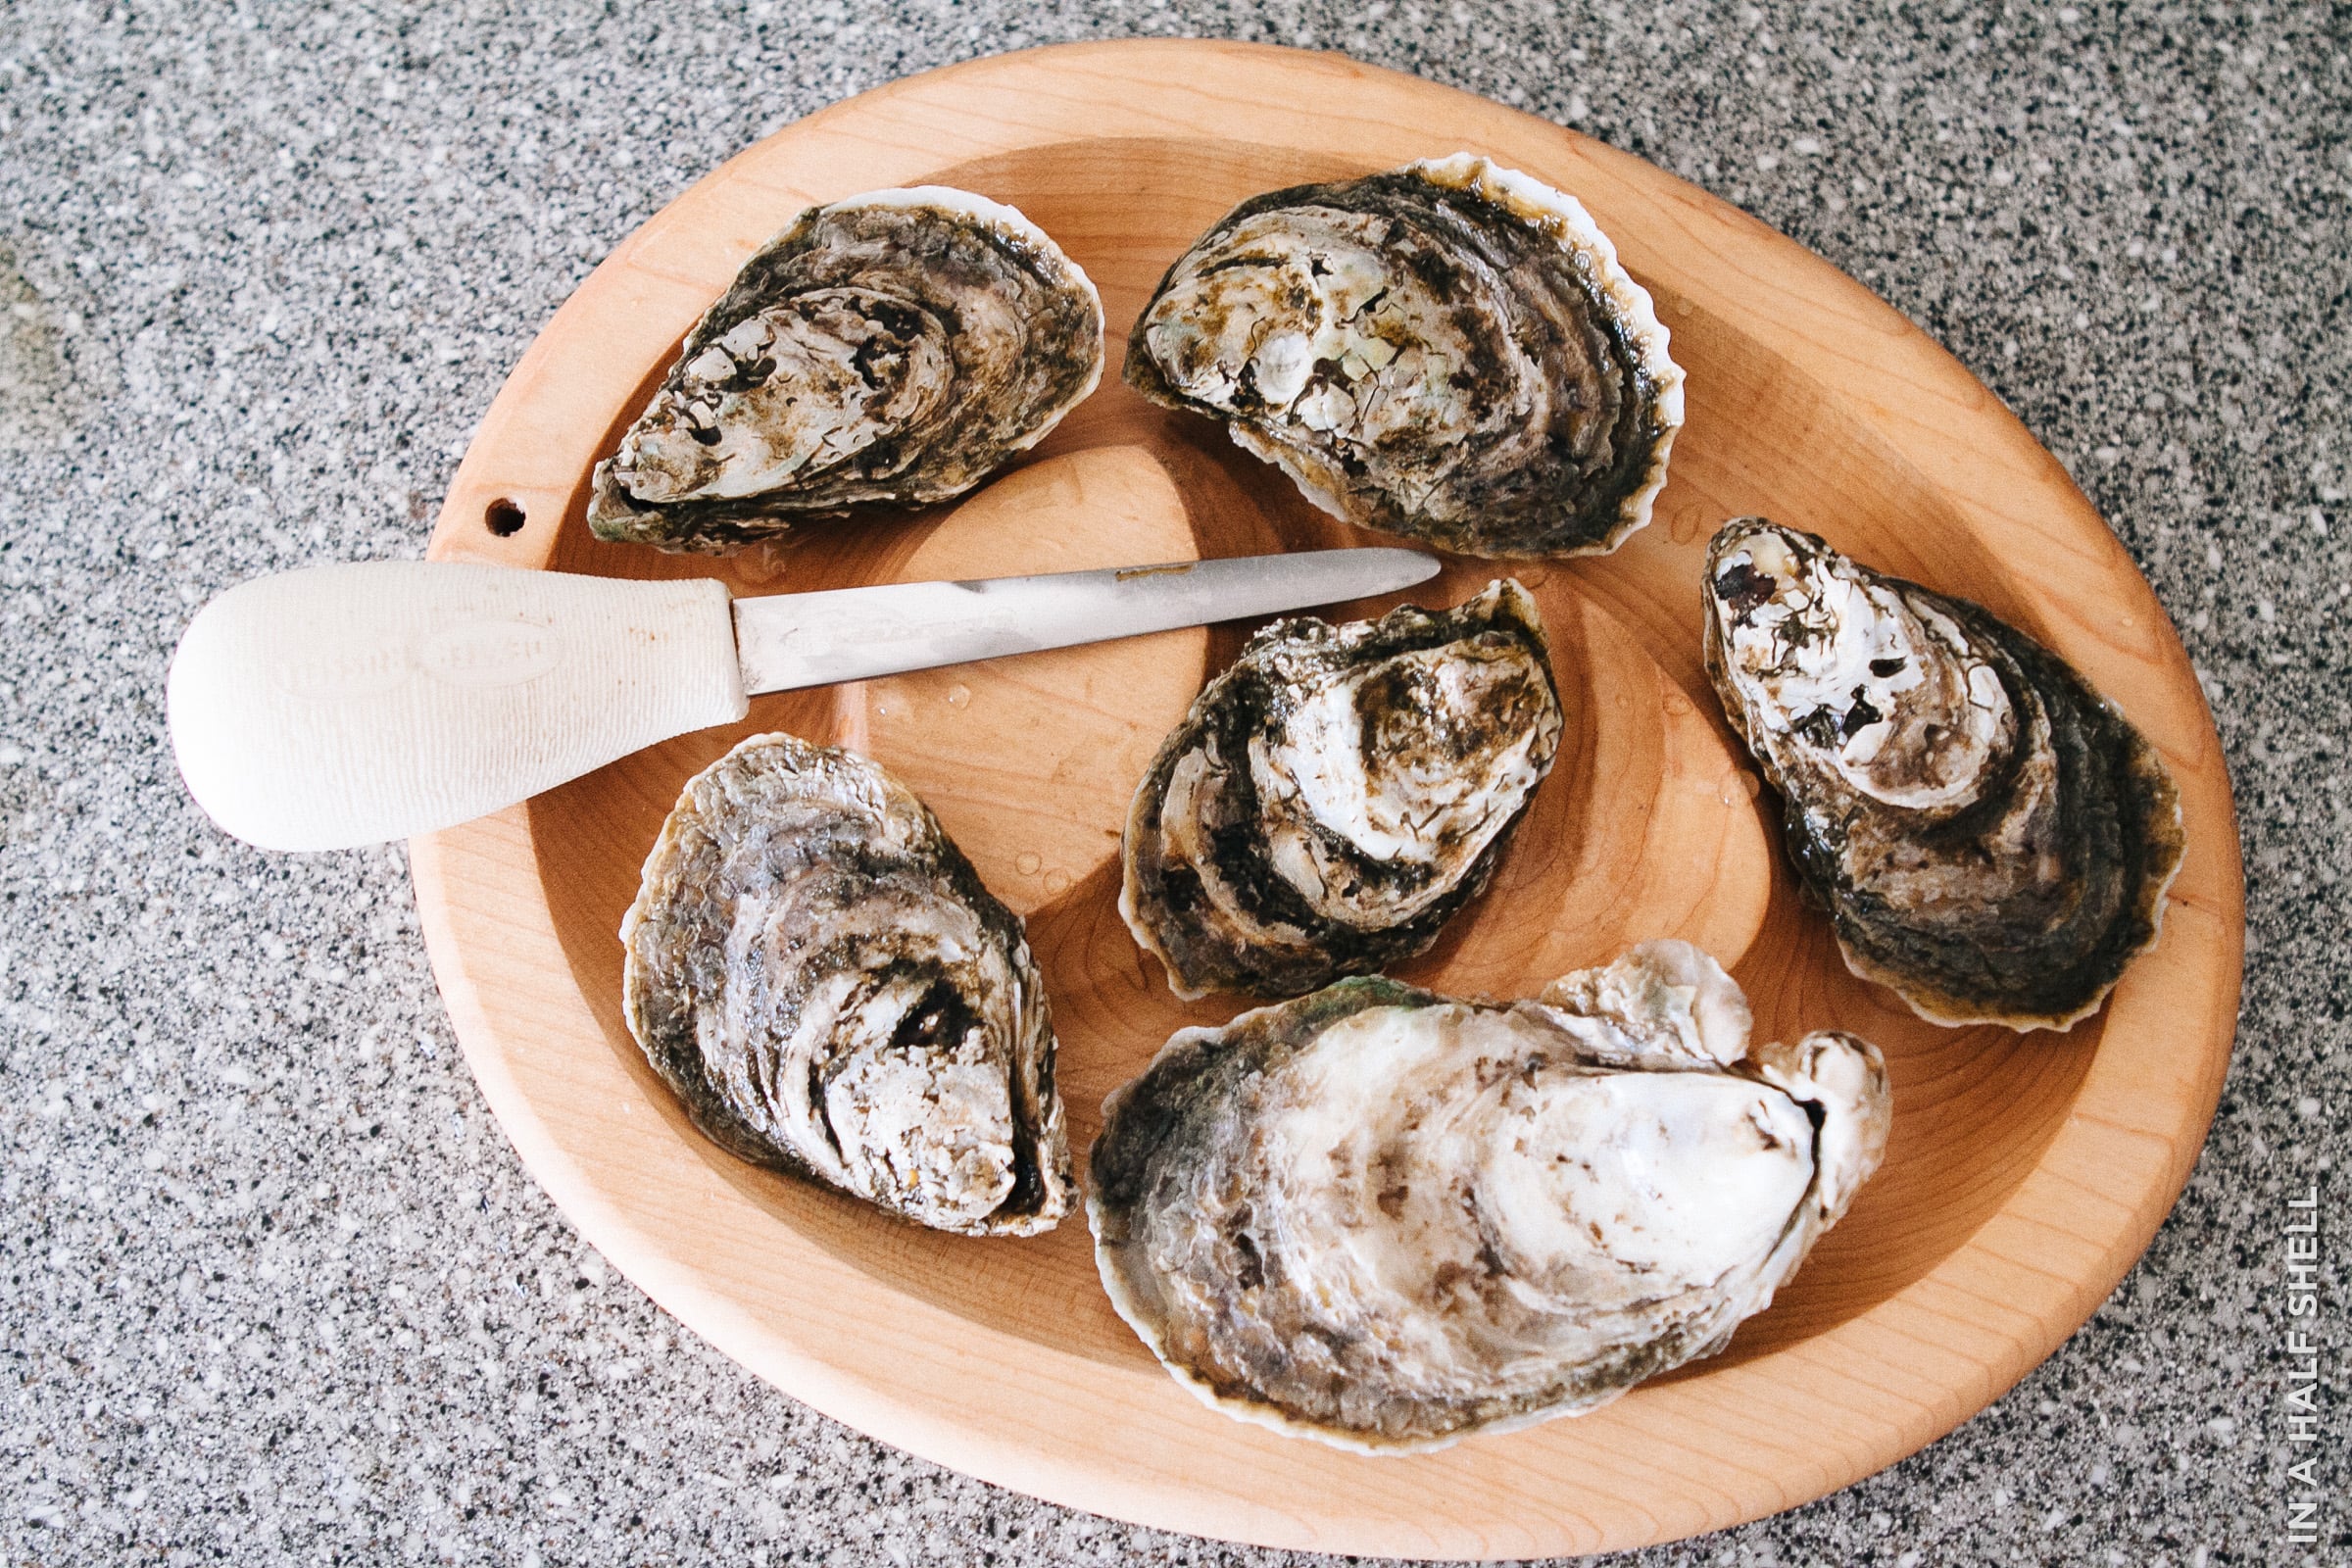
As an elegant alternative to a wearing clunky glove, consider the Littledeer Half Sheller (the maplewood egg-shaped board as shown above). I love using this shucking board to stabilize the shell and collect any runaway juices. It's a must-have for the at-home shucker. Also doubles as an oyster coaster. Win!
If you're looking to make a good presentation, you'll also need:
Crushed ice or rock salt: to place the oysters over
Deep plate, platter or pan: to place the oysters in
Compost bin or trash bag: to discard the shells
Accoutrements: lemon wedges, lime wedges, mignonette sauce, freshly ground pepper (leave the cocktail sauce in your fridge)
I brought my trusty oyster knife (Dexter-Russell Sani-Safe 4 Inch Boston "Stabber" Knife), glove (Kevlar-coated, but I still managed to puncture it once), and Half Sheller with me for the occasion. Charlie Williams, creator of a BBQ Oyster Grill (website no longer live), also graciously expedited over his fantastic oyster grilling racks for us to experiment with.
So now with all of my equipment and oysters ready at hand, it was now time to start shucking!
Step 3: Shucking The Oysters
When they proclaimed, "The world is your oyster," they forgot to also disclaim, "if you know how to shuck." Once you learn how to shuck them, the doors to enjoying fresher, cheaper oysters will open easily for you. In reality, if you want to savor them raw and intact without paying a restaurant premium, you must shuck them yourself.
How much of a premium do restaurants charge for shucking, you wonder? Well, take the York River Oyster for example. In 2012, Aquagrill in NYC charges $2.15 per piece for them, whereas I bought them for about $1 per piece and that's mostly the cost of shipping! $0.25-$1.00 per piece is the range of fees for having someone else shuck them for you.
Now probably having shucked well over 500 pieces in the last two years (2020 UPDATE: Probably at 3000+ now…), I can tell you that it gets easier with practice. If you stick to the right size and shape of shell, the activity is reasonably easy--even fun! I won't go into details about how to shuck in this article, but will send you off with this video tutorial.
A few practical tips to make the shucking experience run smoothly:
Have your shell bucket and oyster serving tray near you.
Have a small bowl of water or clean towel on hand to wipe off mud or shell bits.
Plan your oyster to plate ratio ahead of time so you don't run out of display space.
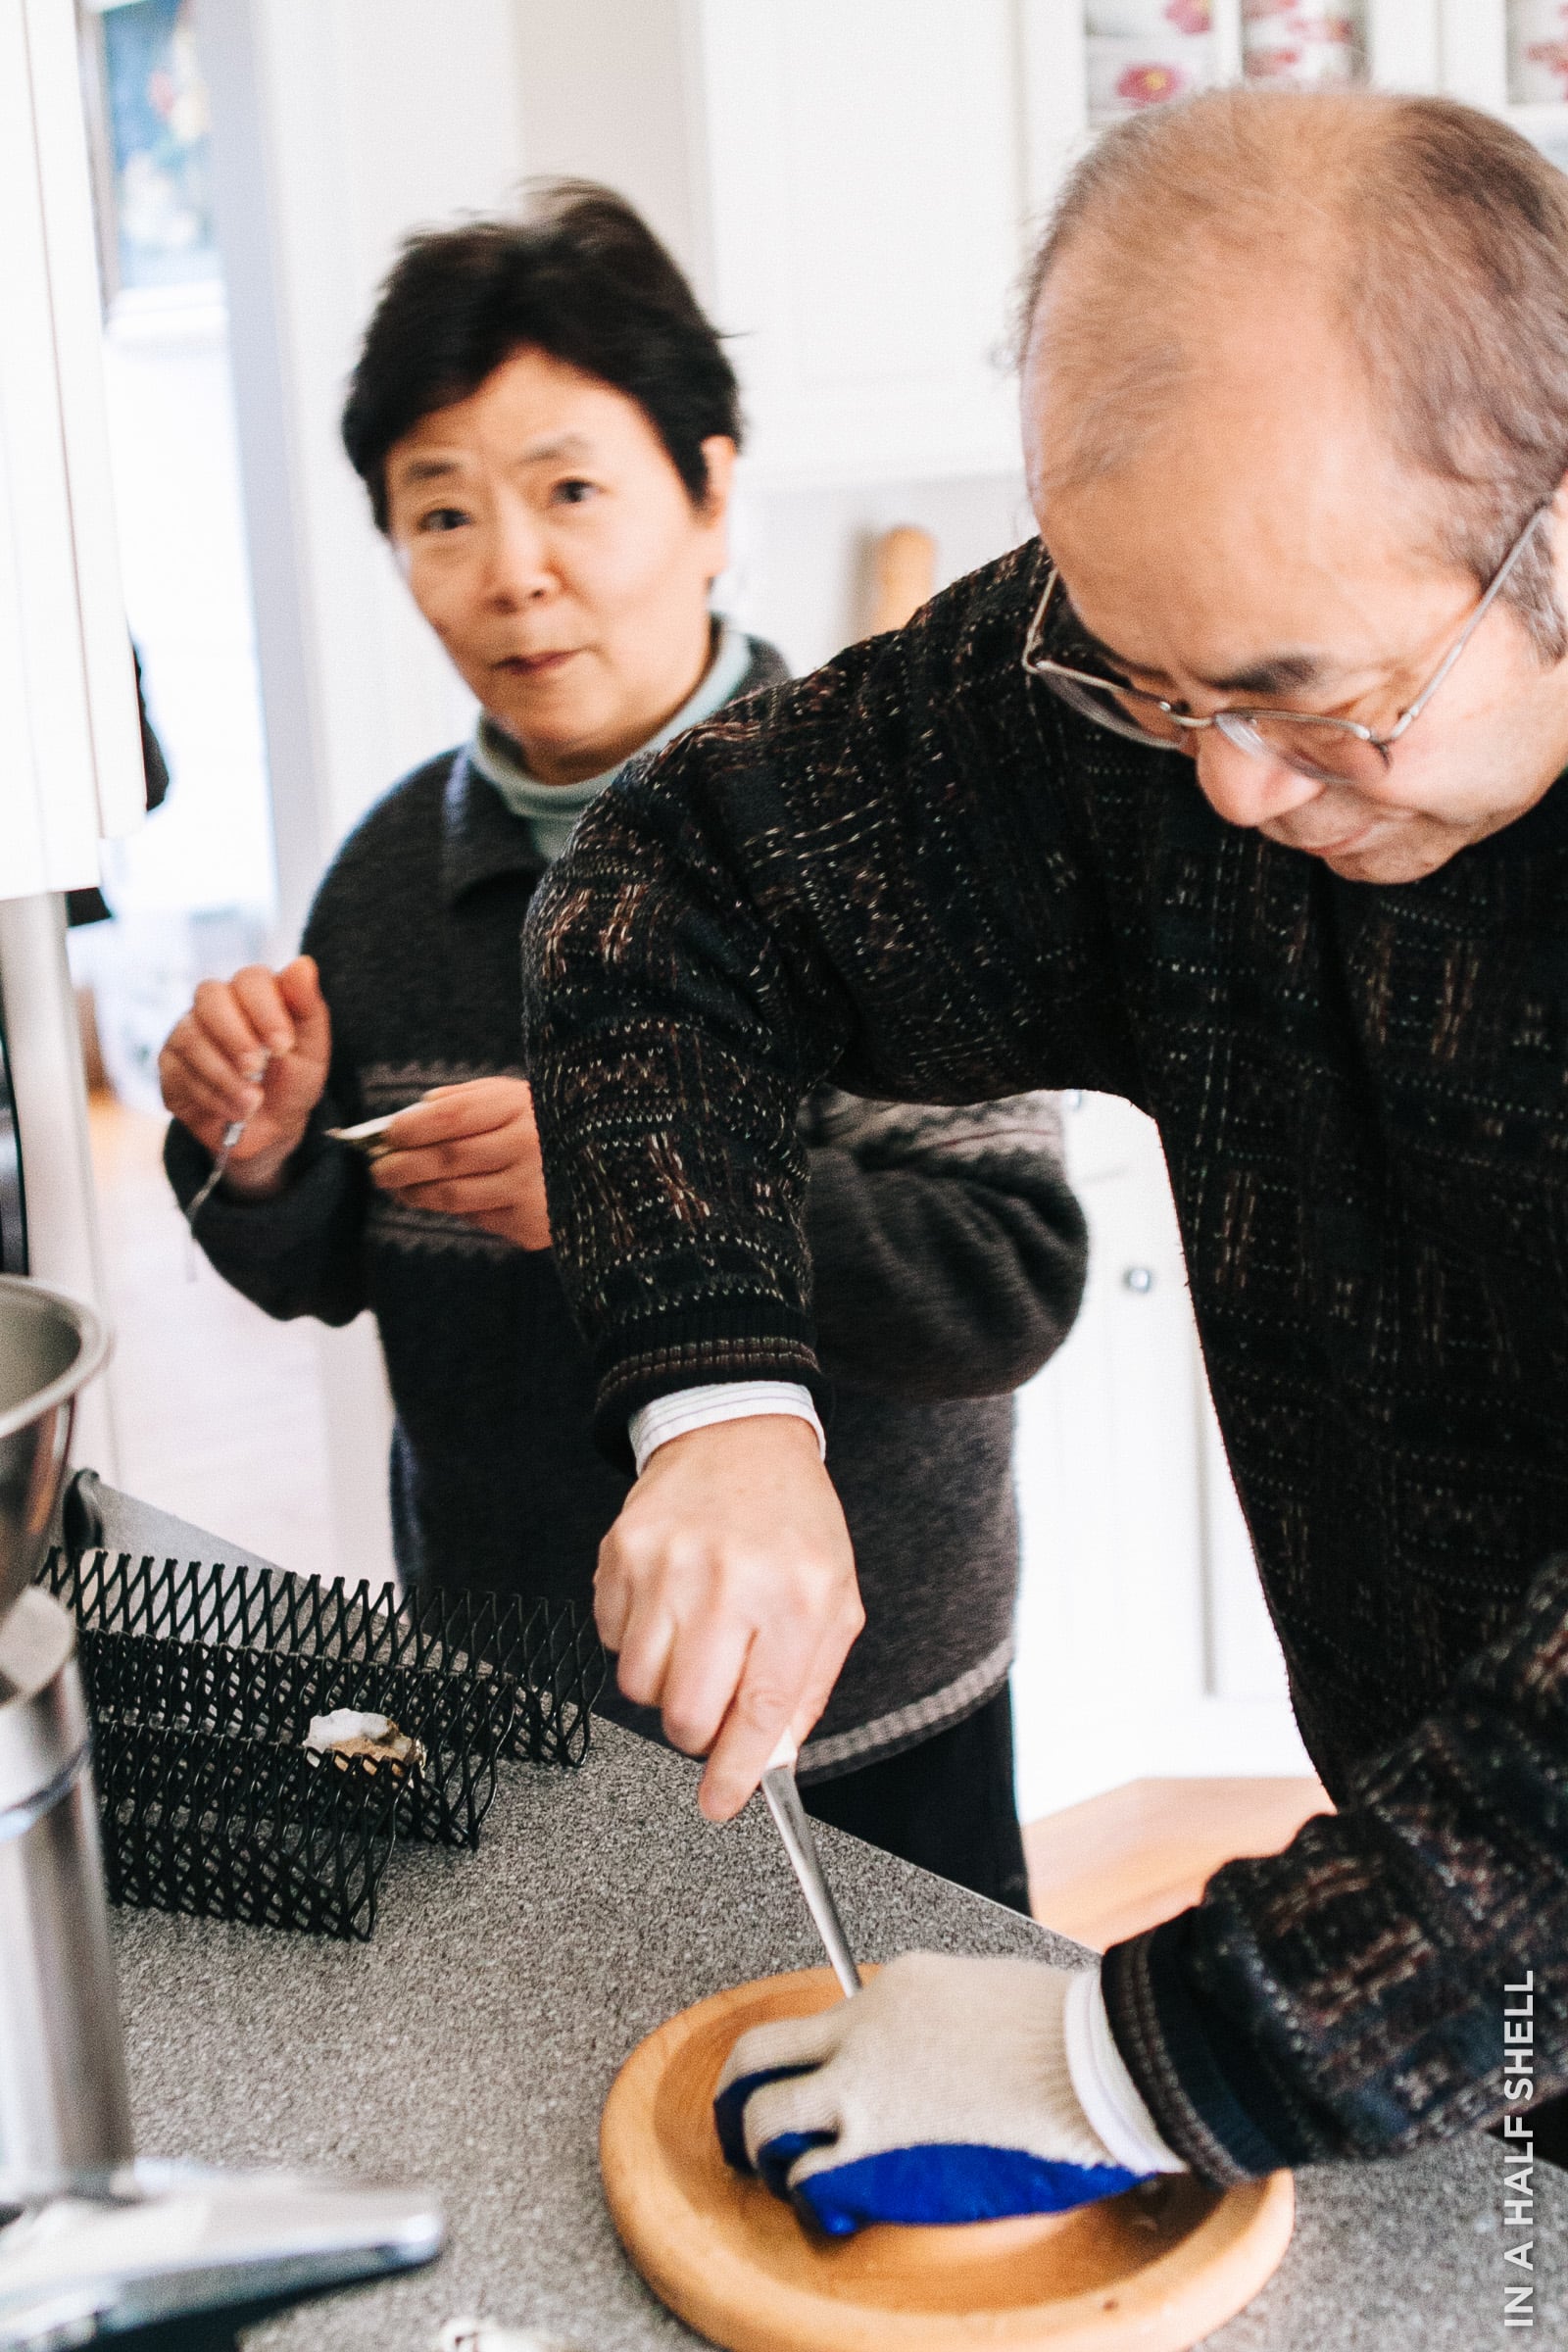
I learned how to shuck oysters from Chef Laurence Edelman from Left Bank and have been passing down that knowledge to anyone who asks. I even taught my dad how to open them, and being the skillful engineer that he is, he immediately got the hang of it. My mom hanged back and just enjoyed the fruits of our labor.
Step 4: Prep the Accoutrements
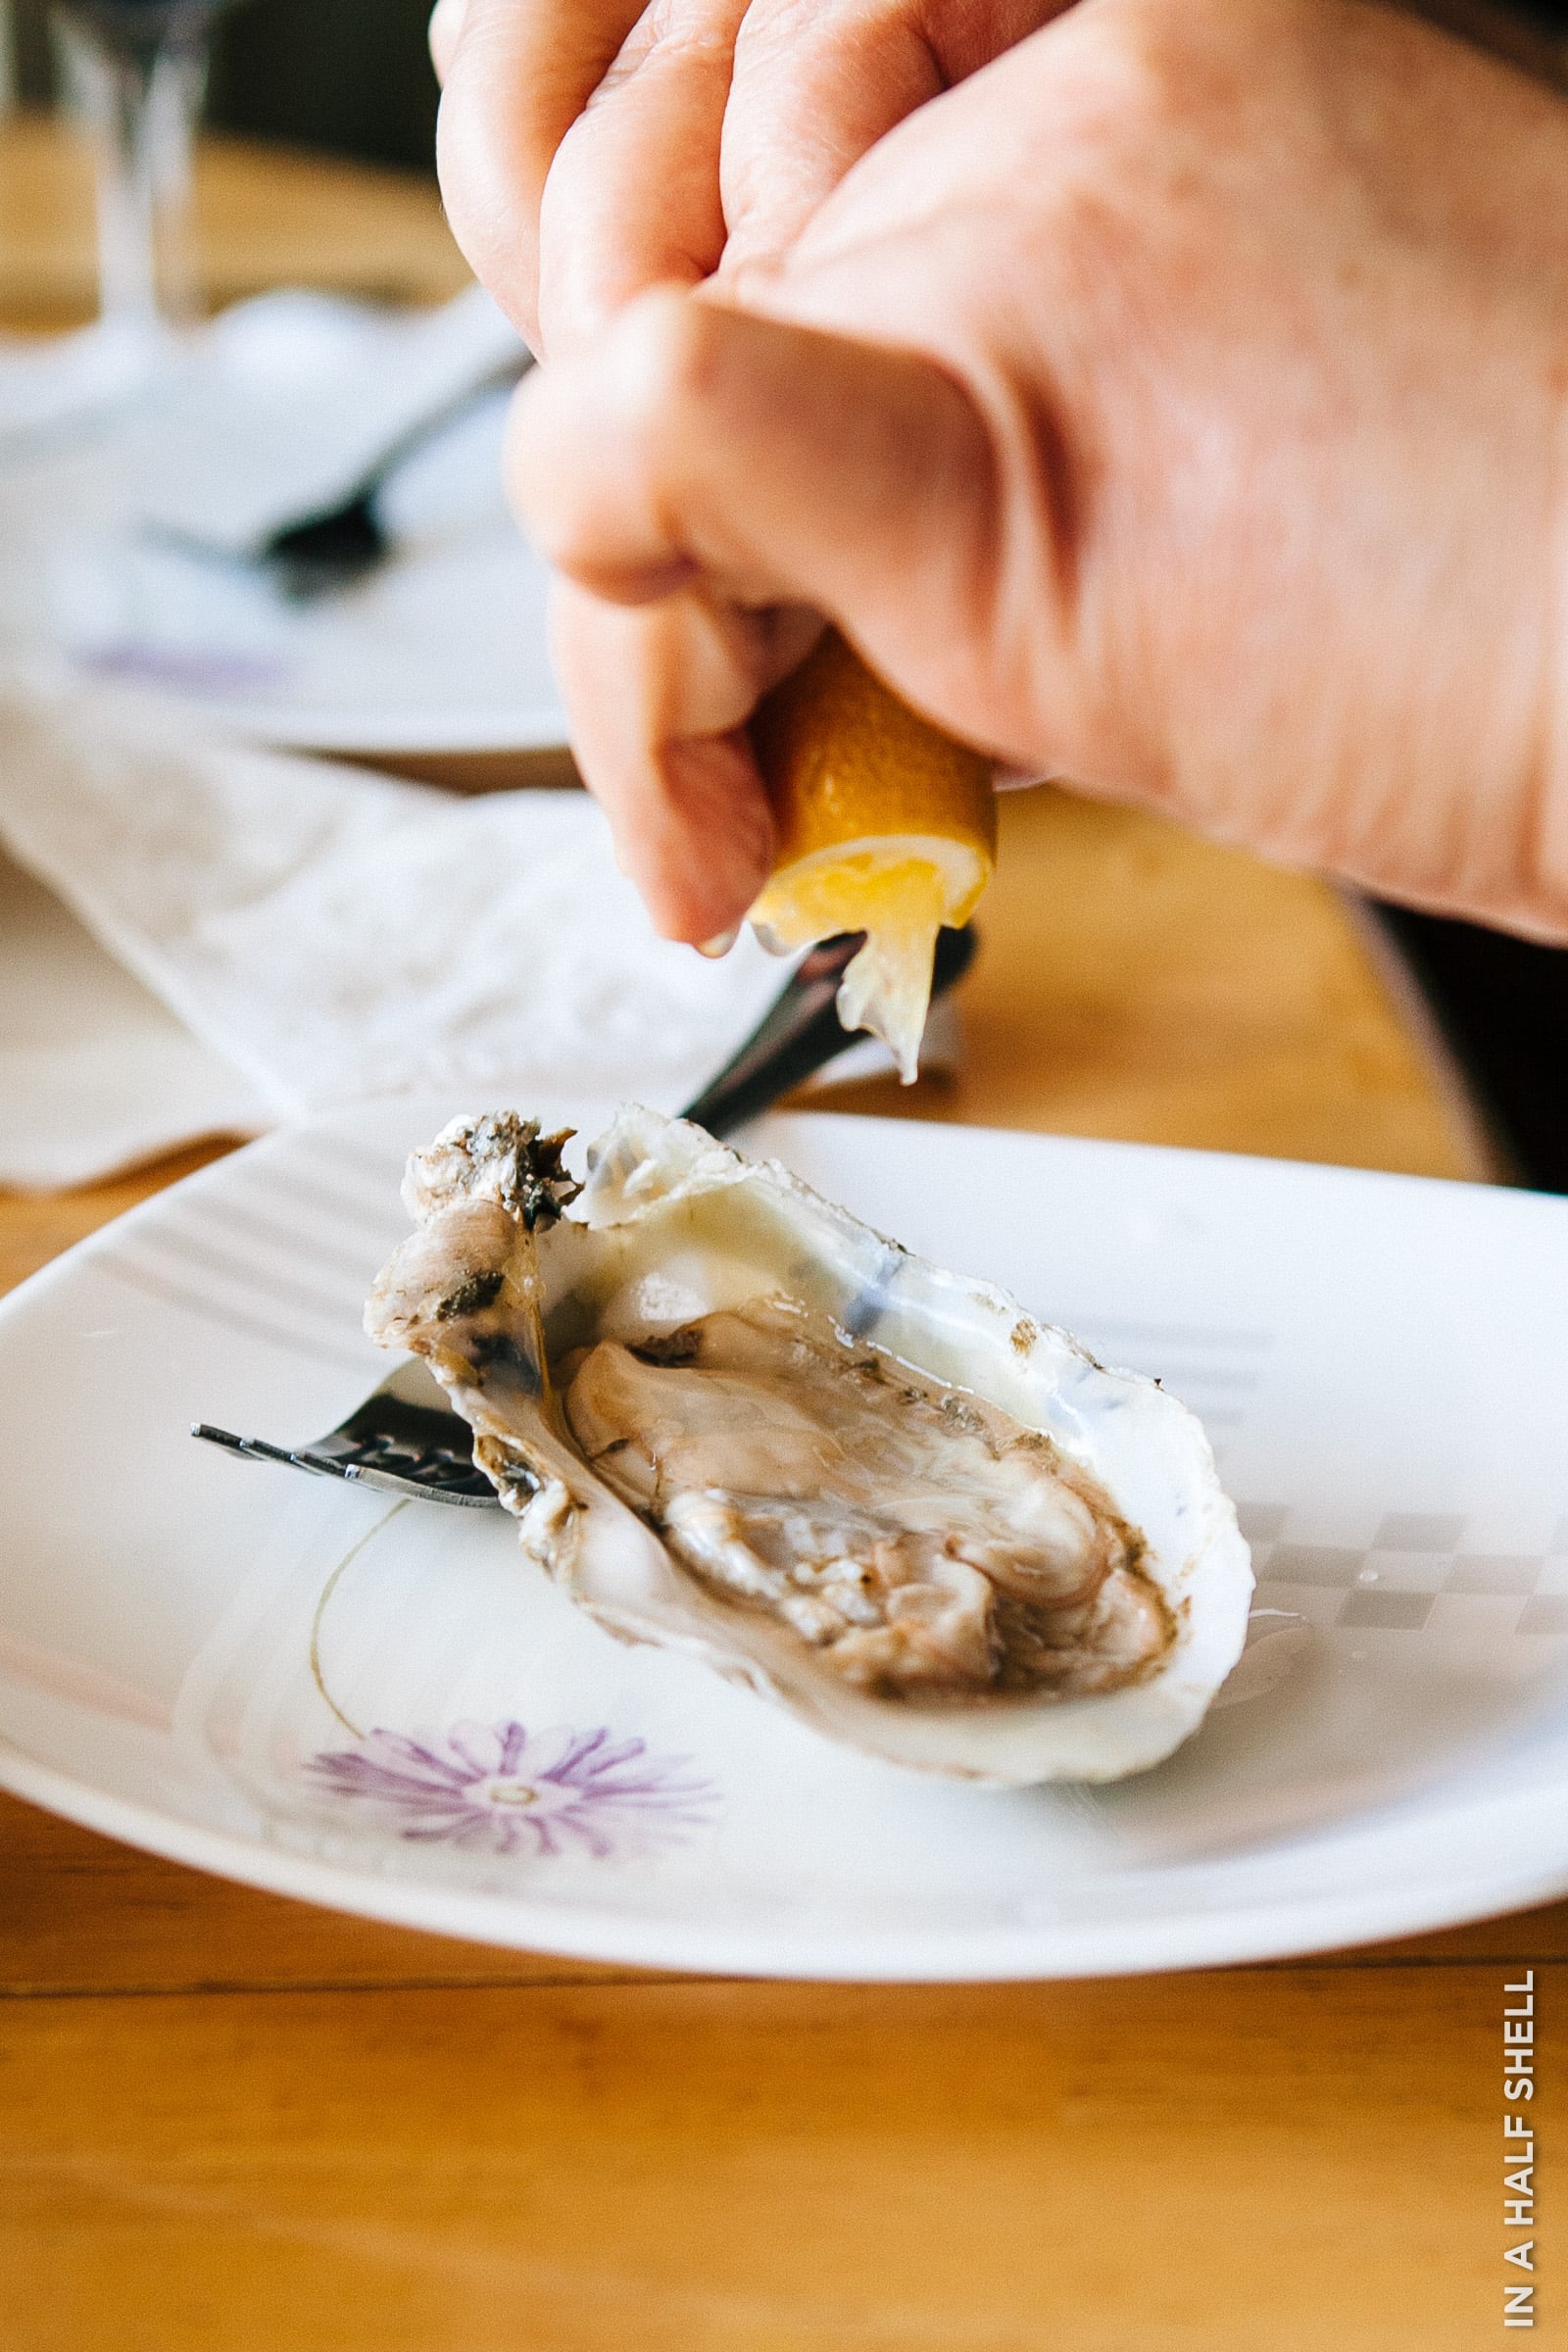
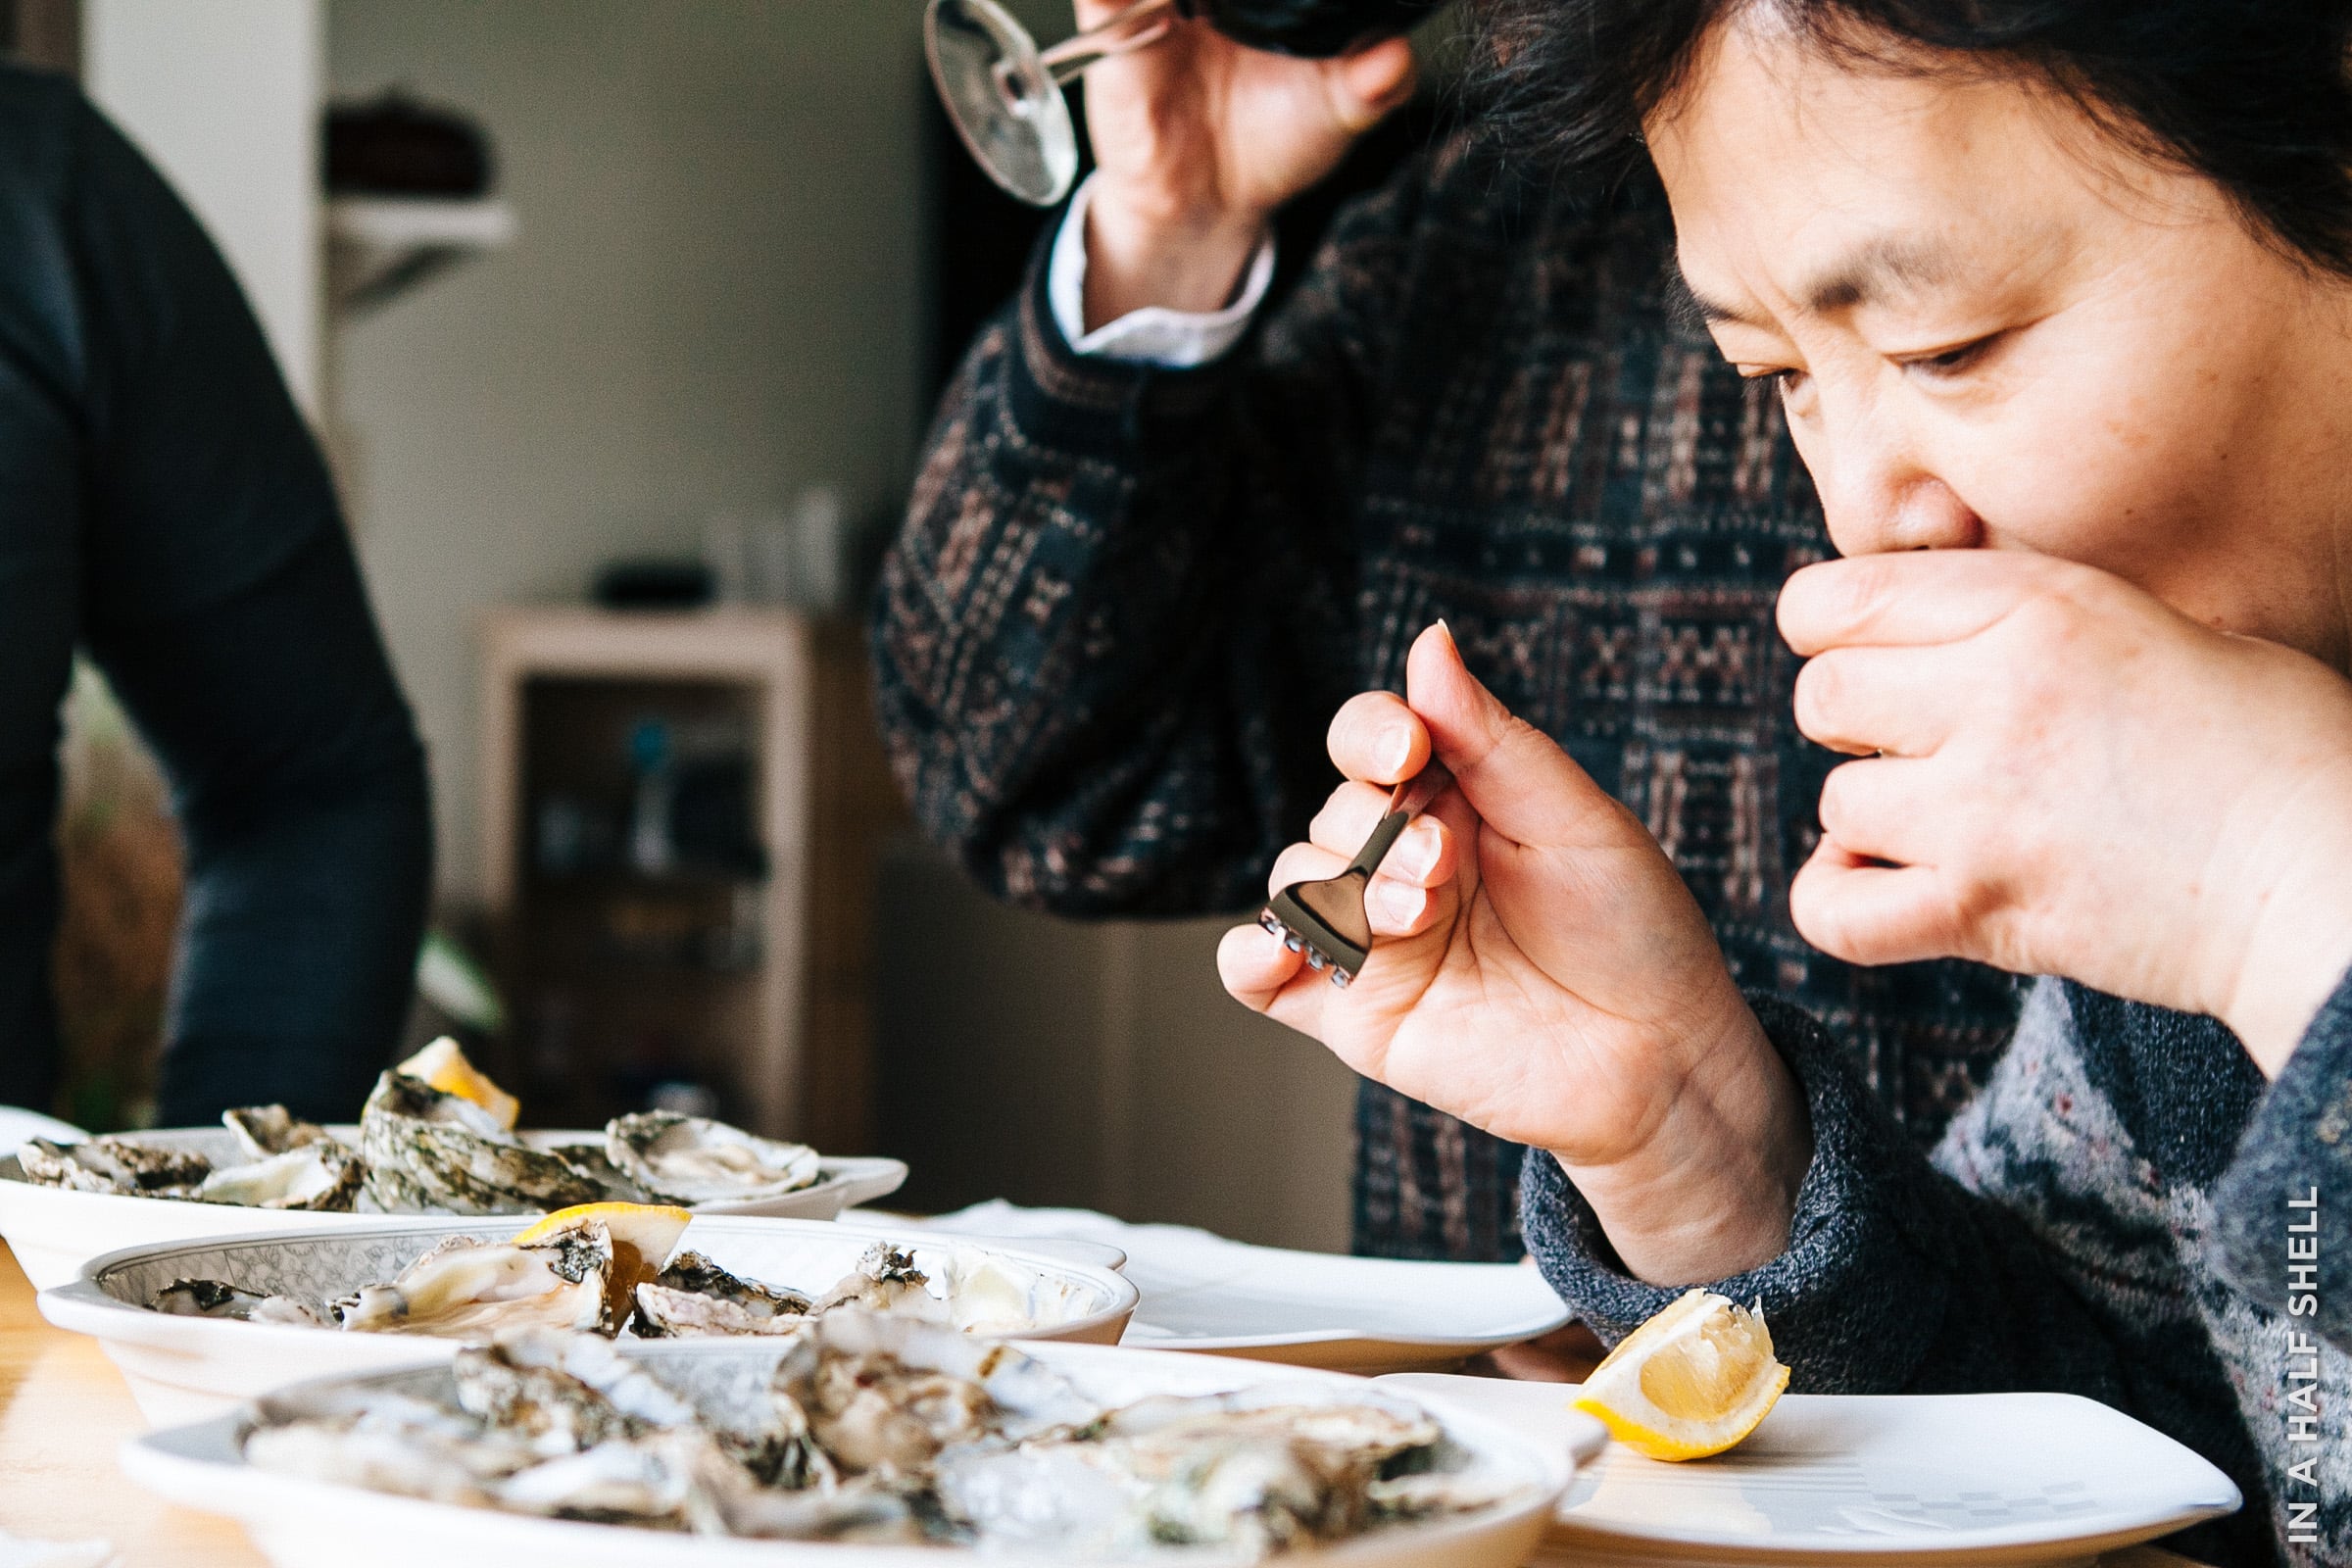
I'm a naked kind of girl. I like to eat my oysters without any condiments at all. My parents, like many people, like a few drops of lemon on theirs, so that's what we did. On occasion, I enjoy drizzling a little bit of spicy and tart mignonette on top to liven them up. But seriously, try one without anything at all before you top them off. Do the right thing.
Here are some tasty mignonette recipes to try out:
By now you should be enjoying the oysters…
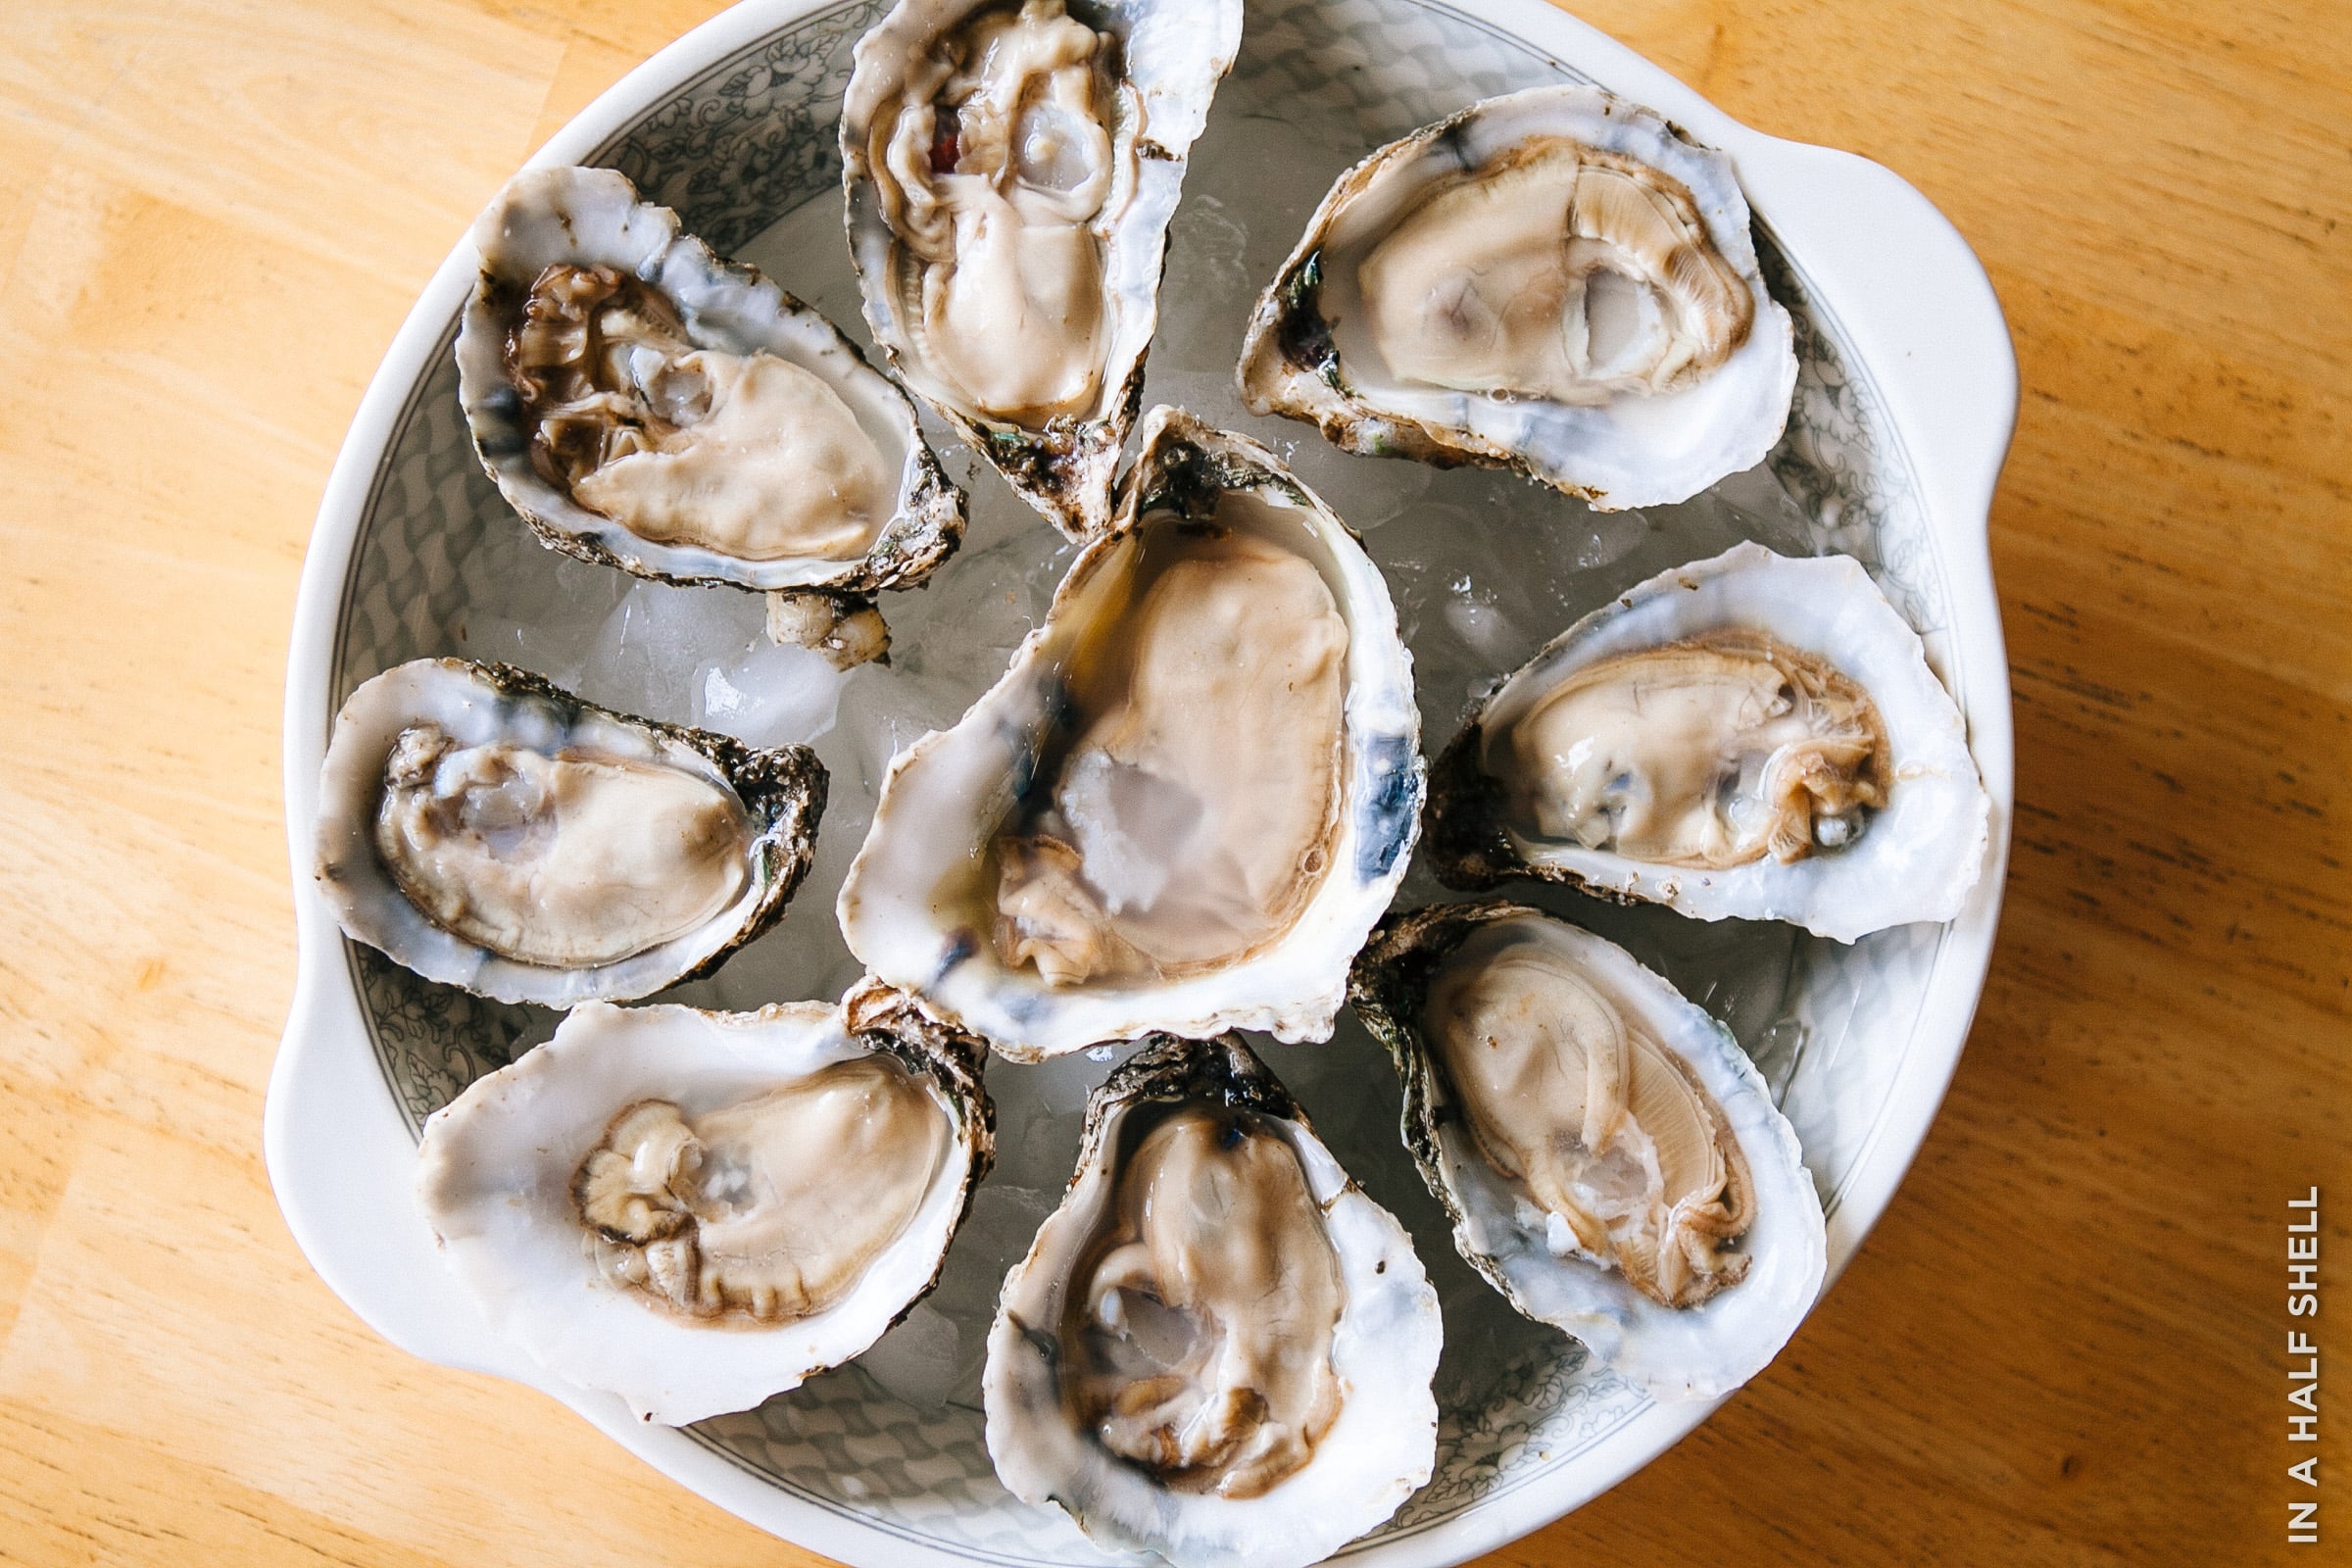
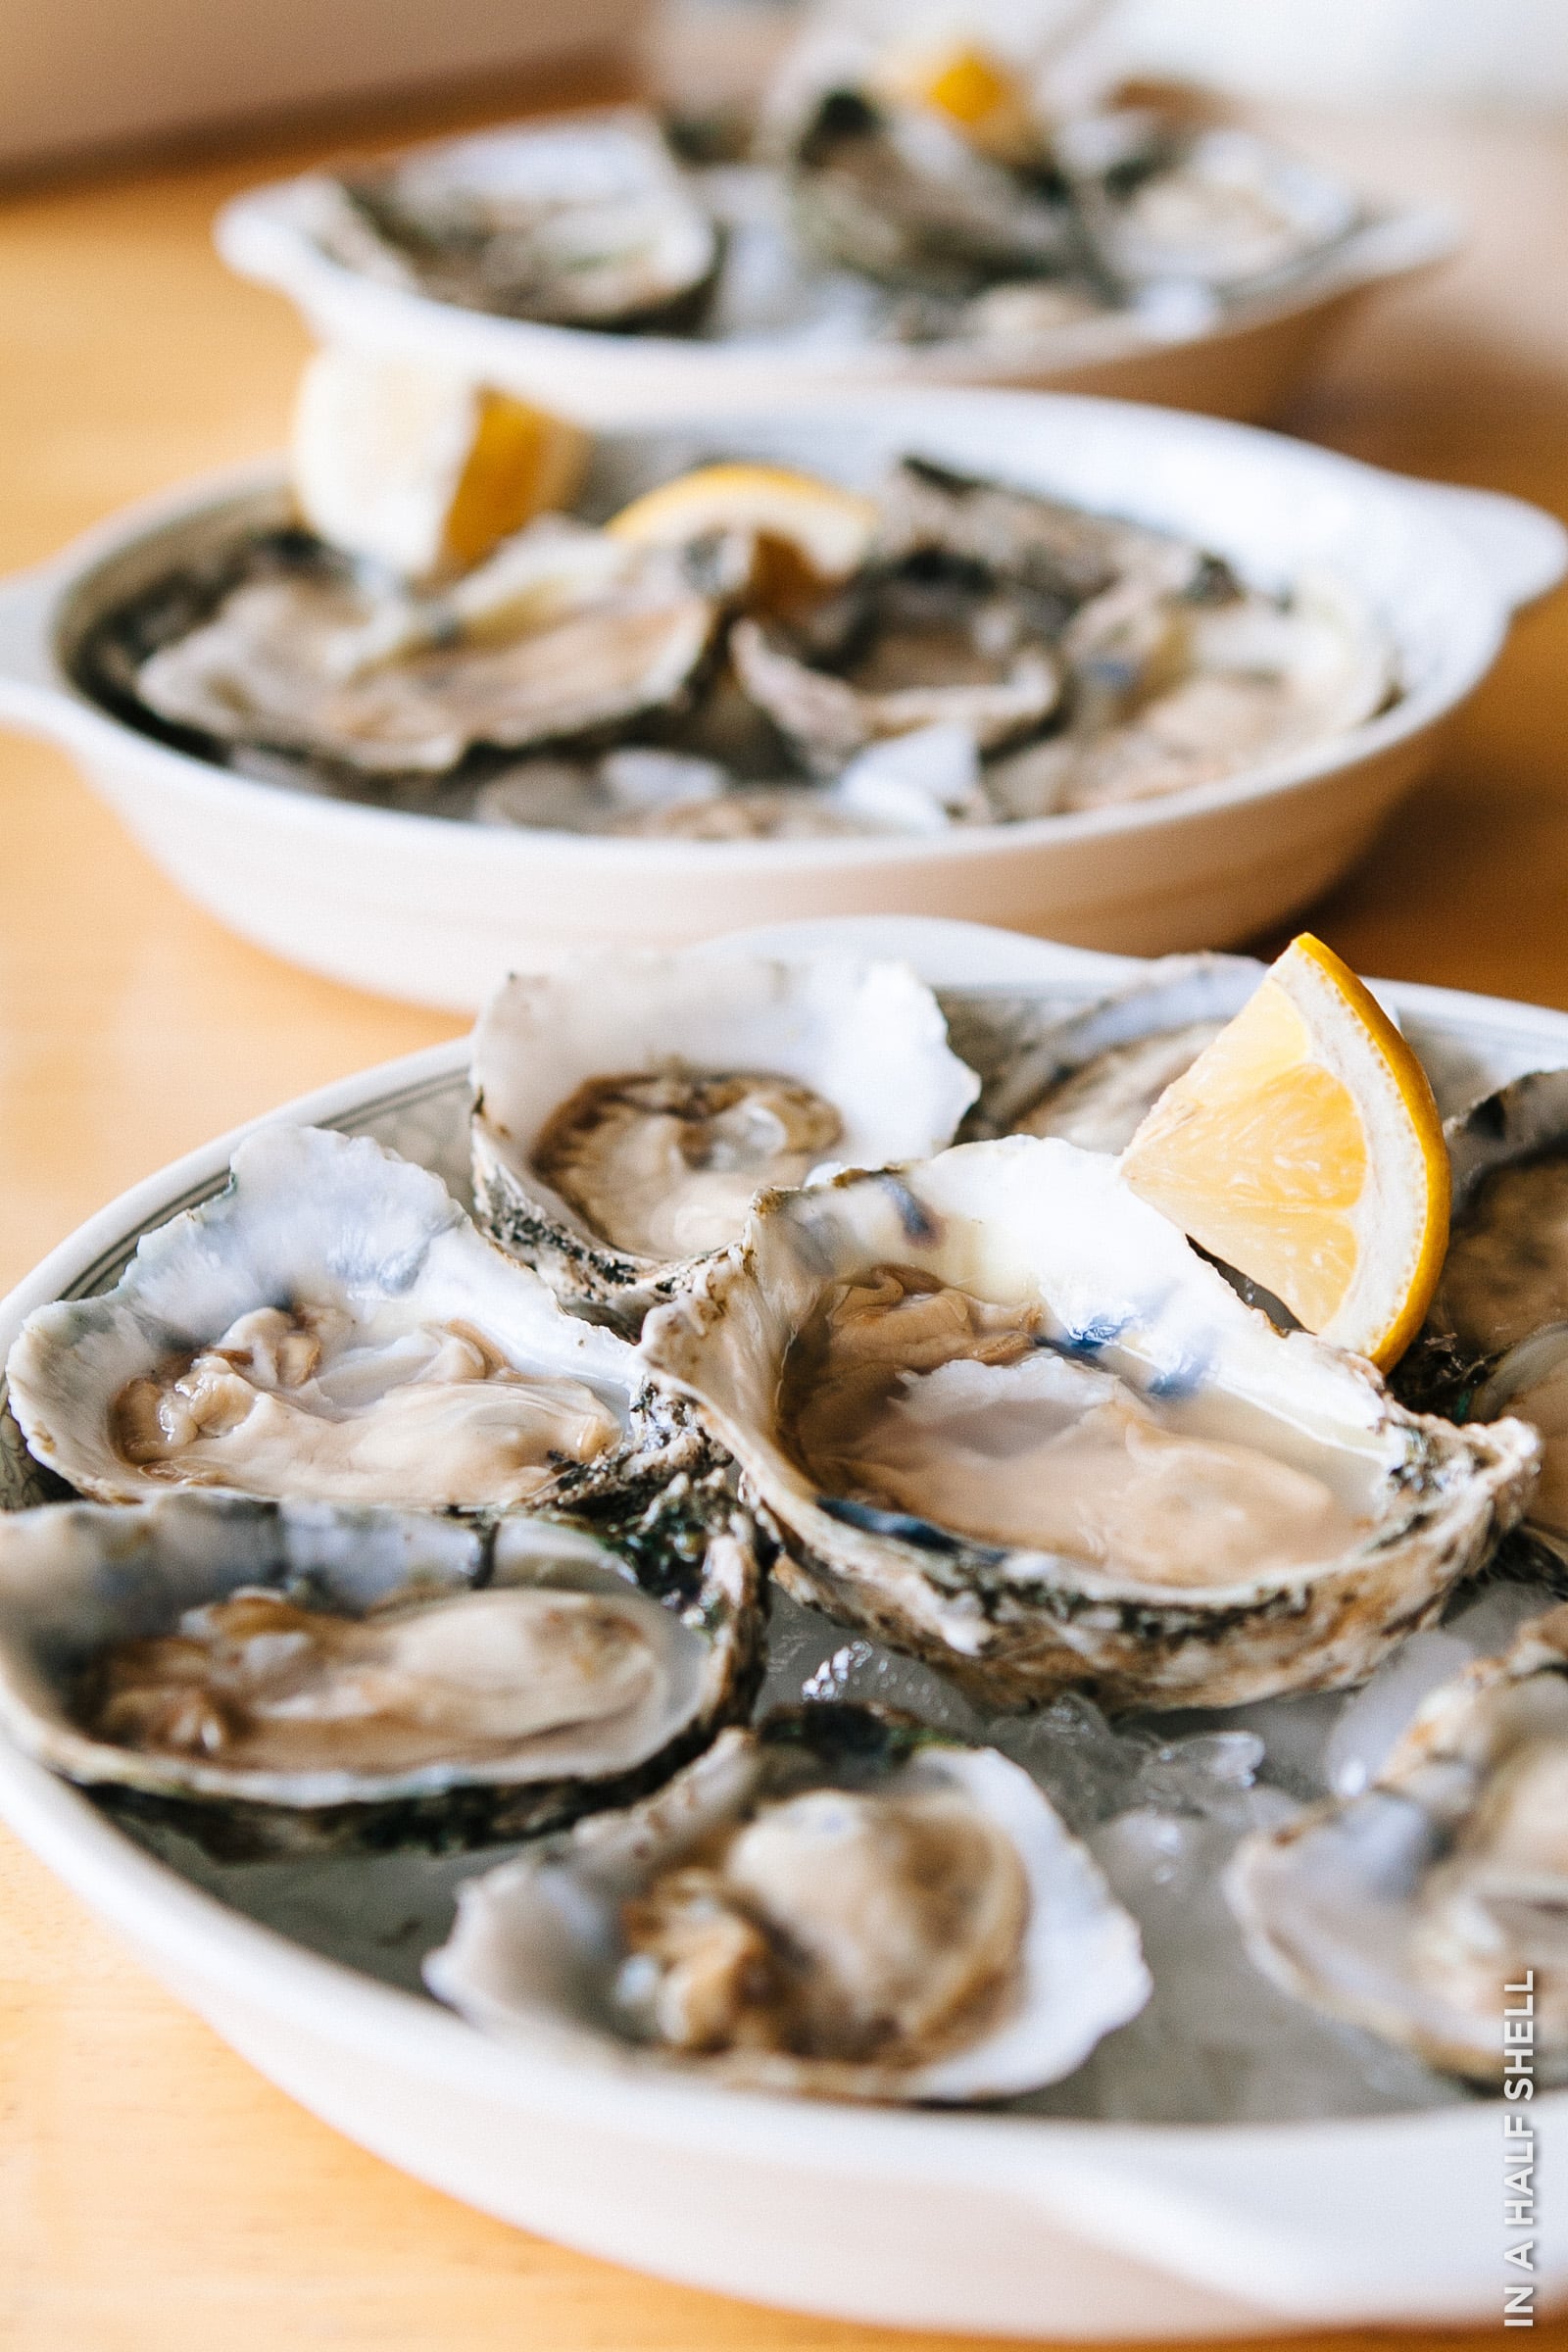
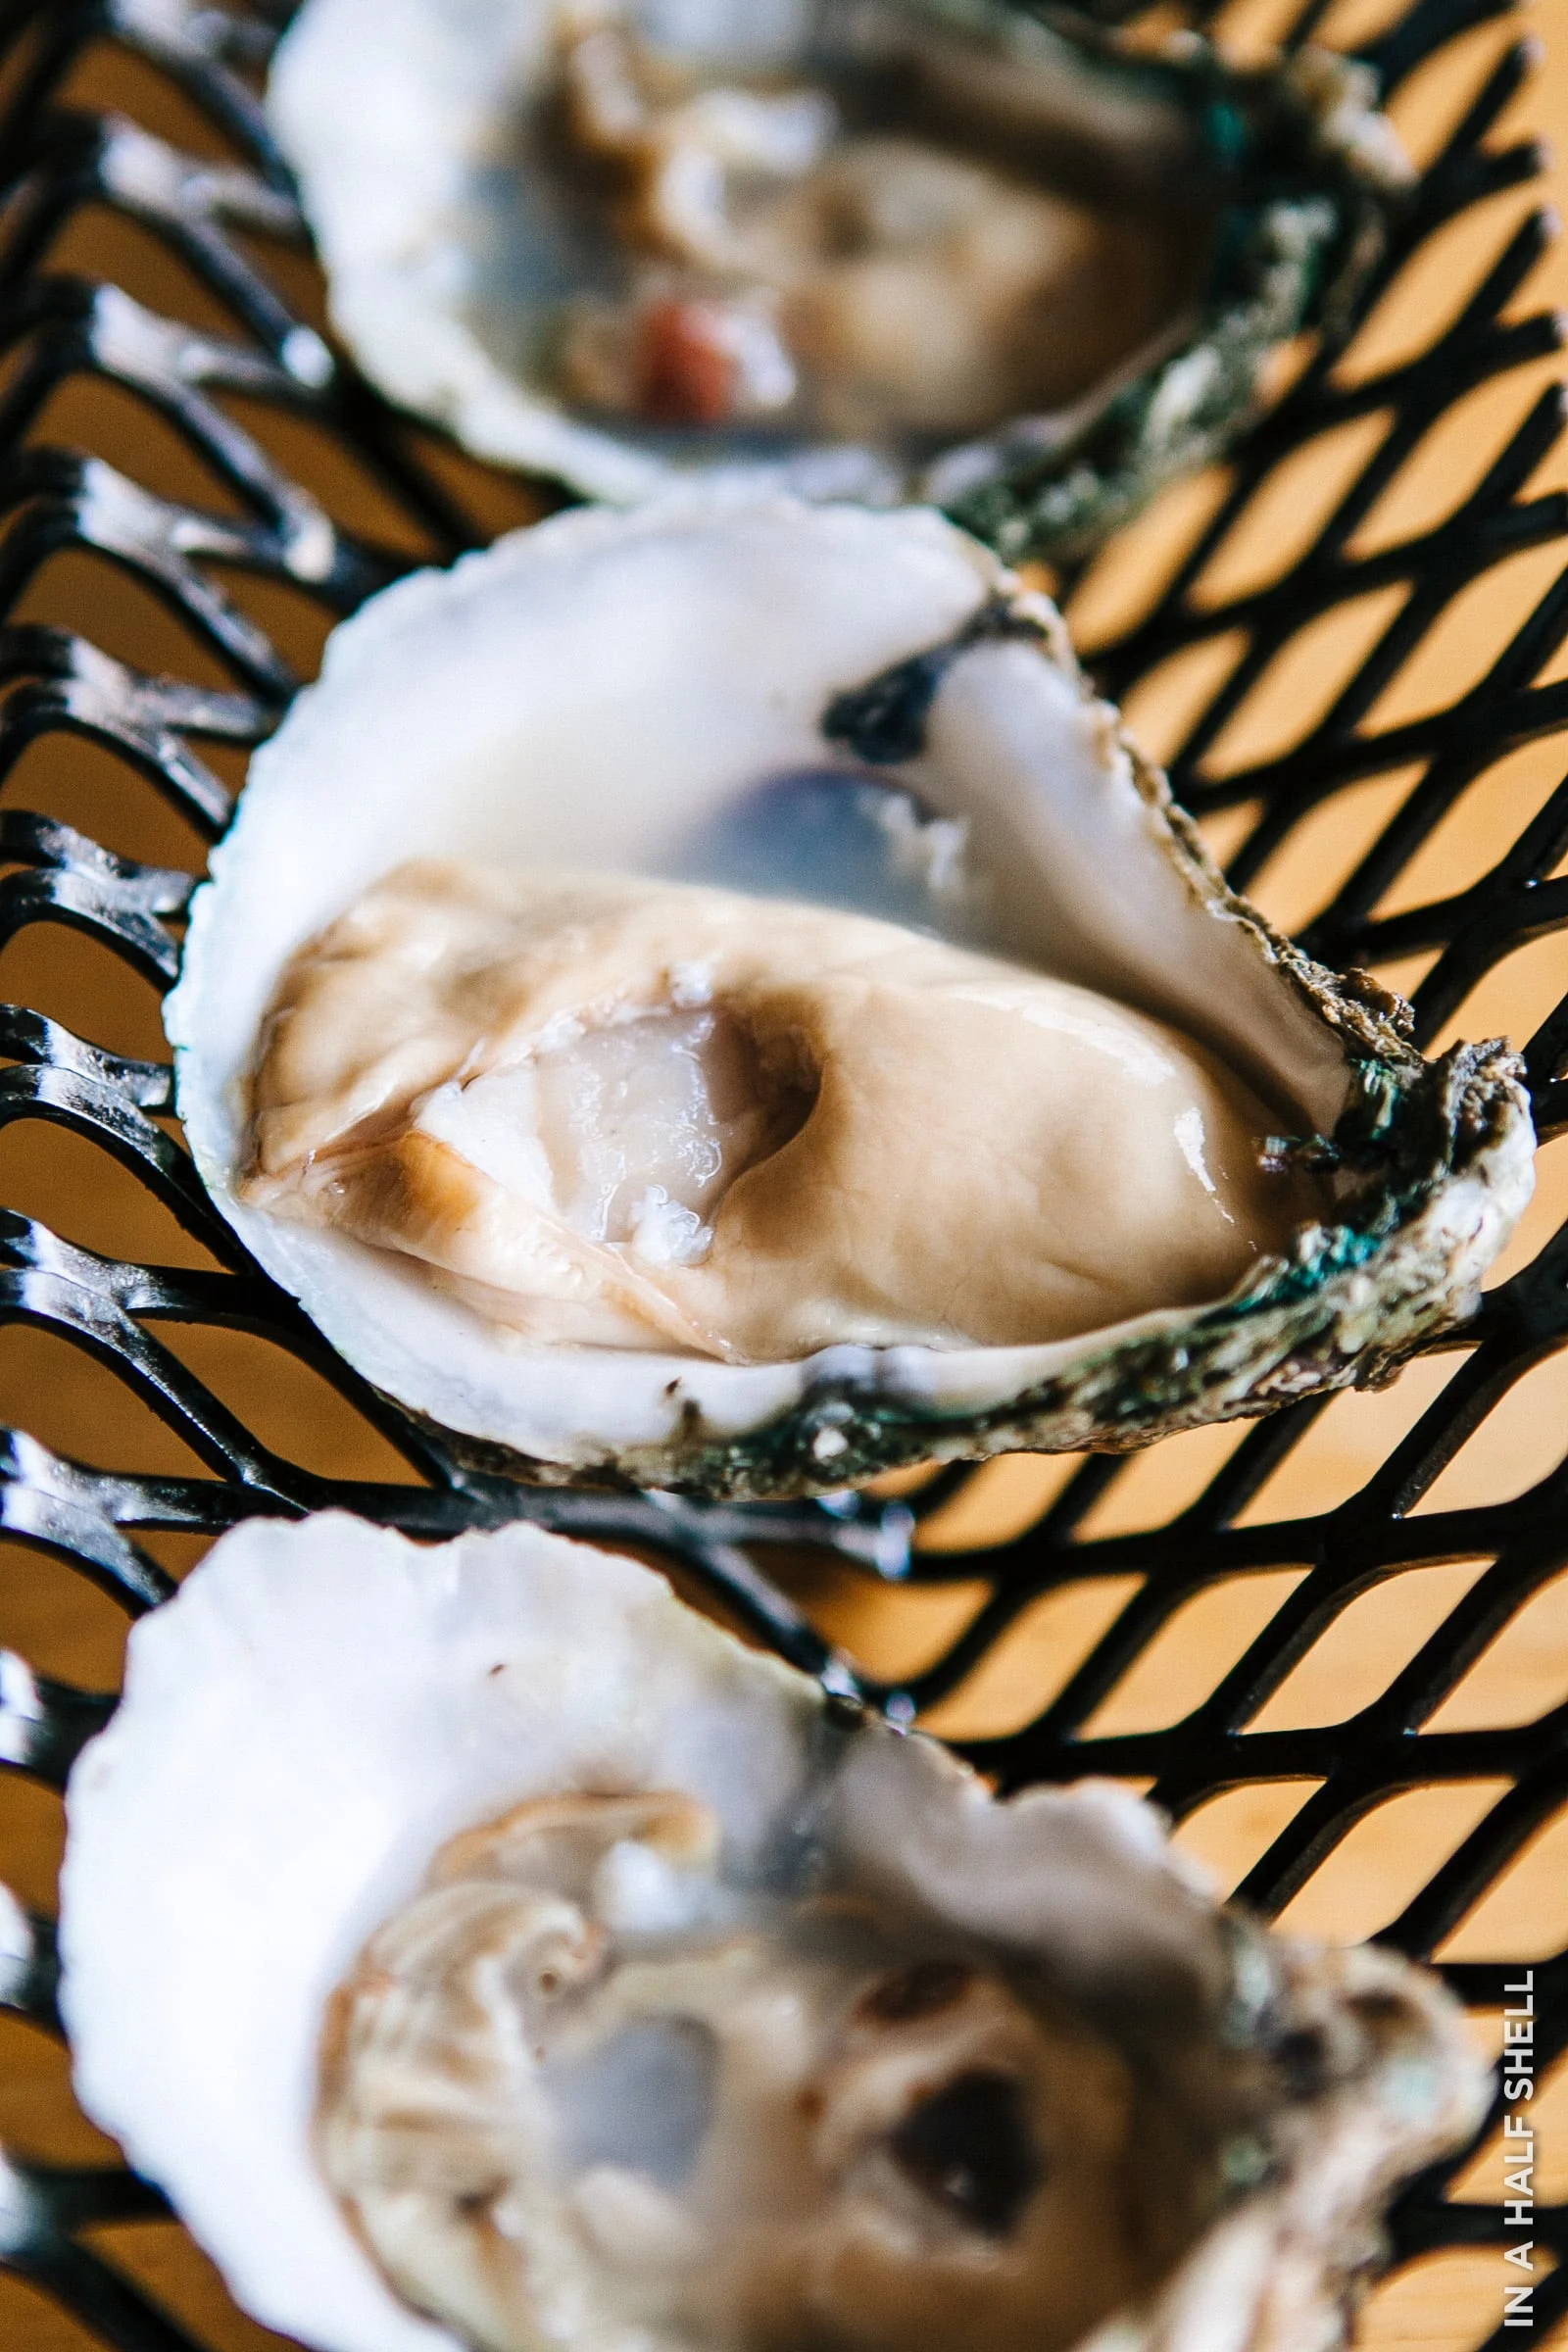
The York River Oysters were fantastically plump, buttery and simply beautiful to look at. They are grown by Tommy Leggett and his crew in the lower York River at York Town, near the Chesapeake Bay. The liquor was mildly briny and the chewy meat possessed a clean aftertaste. The white bellies were mildly sweet and delivered a depth of flavor that is unique for Virginia oysters. My mom, who is usually picky about her seafood (she's quite sensitive to "fishiness") claimed that she could taste the freshness.
The four of us slurped up half a dozen each in no time at all.
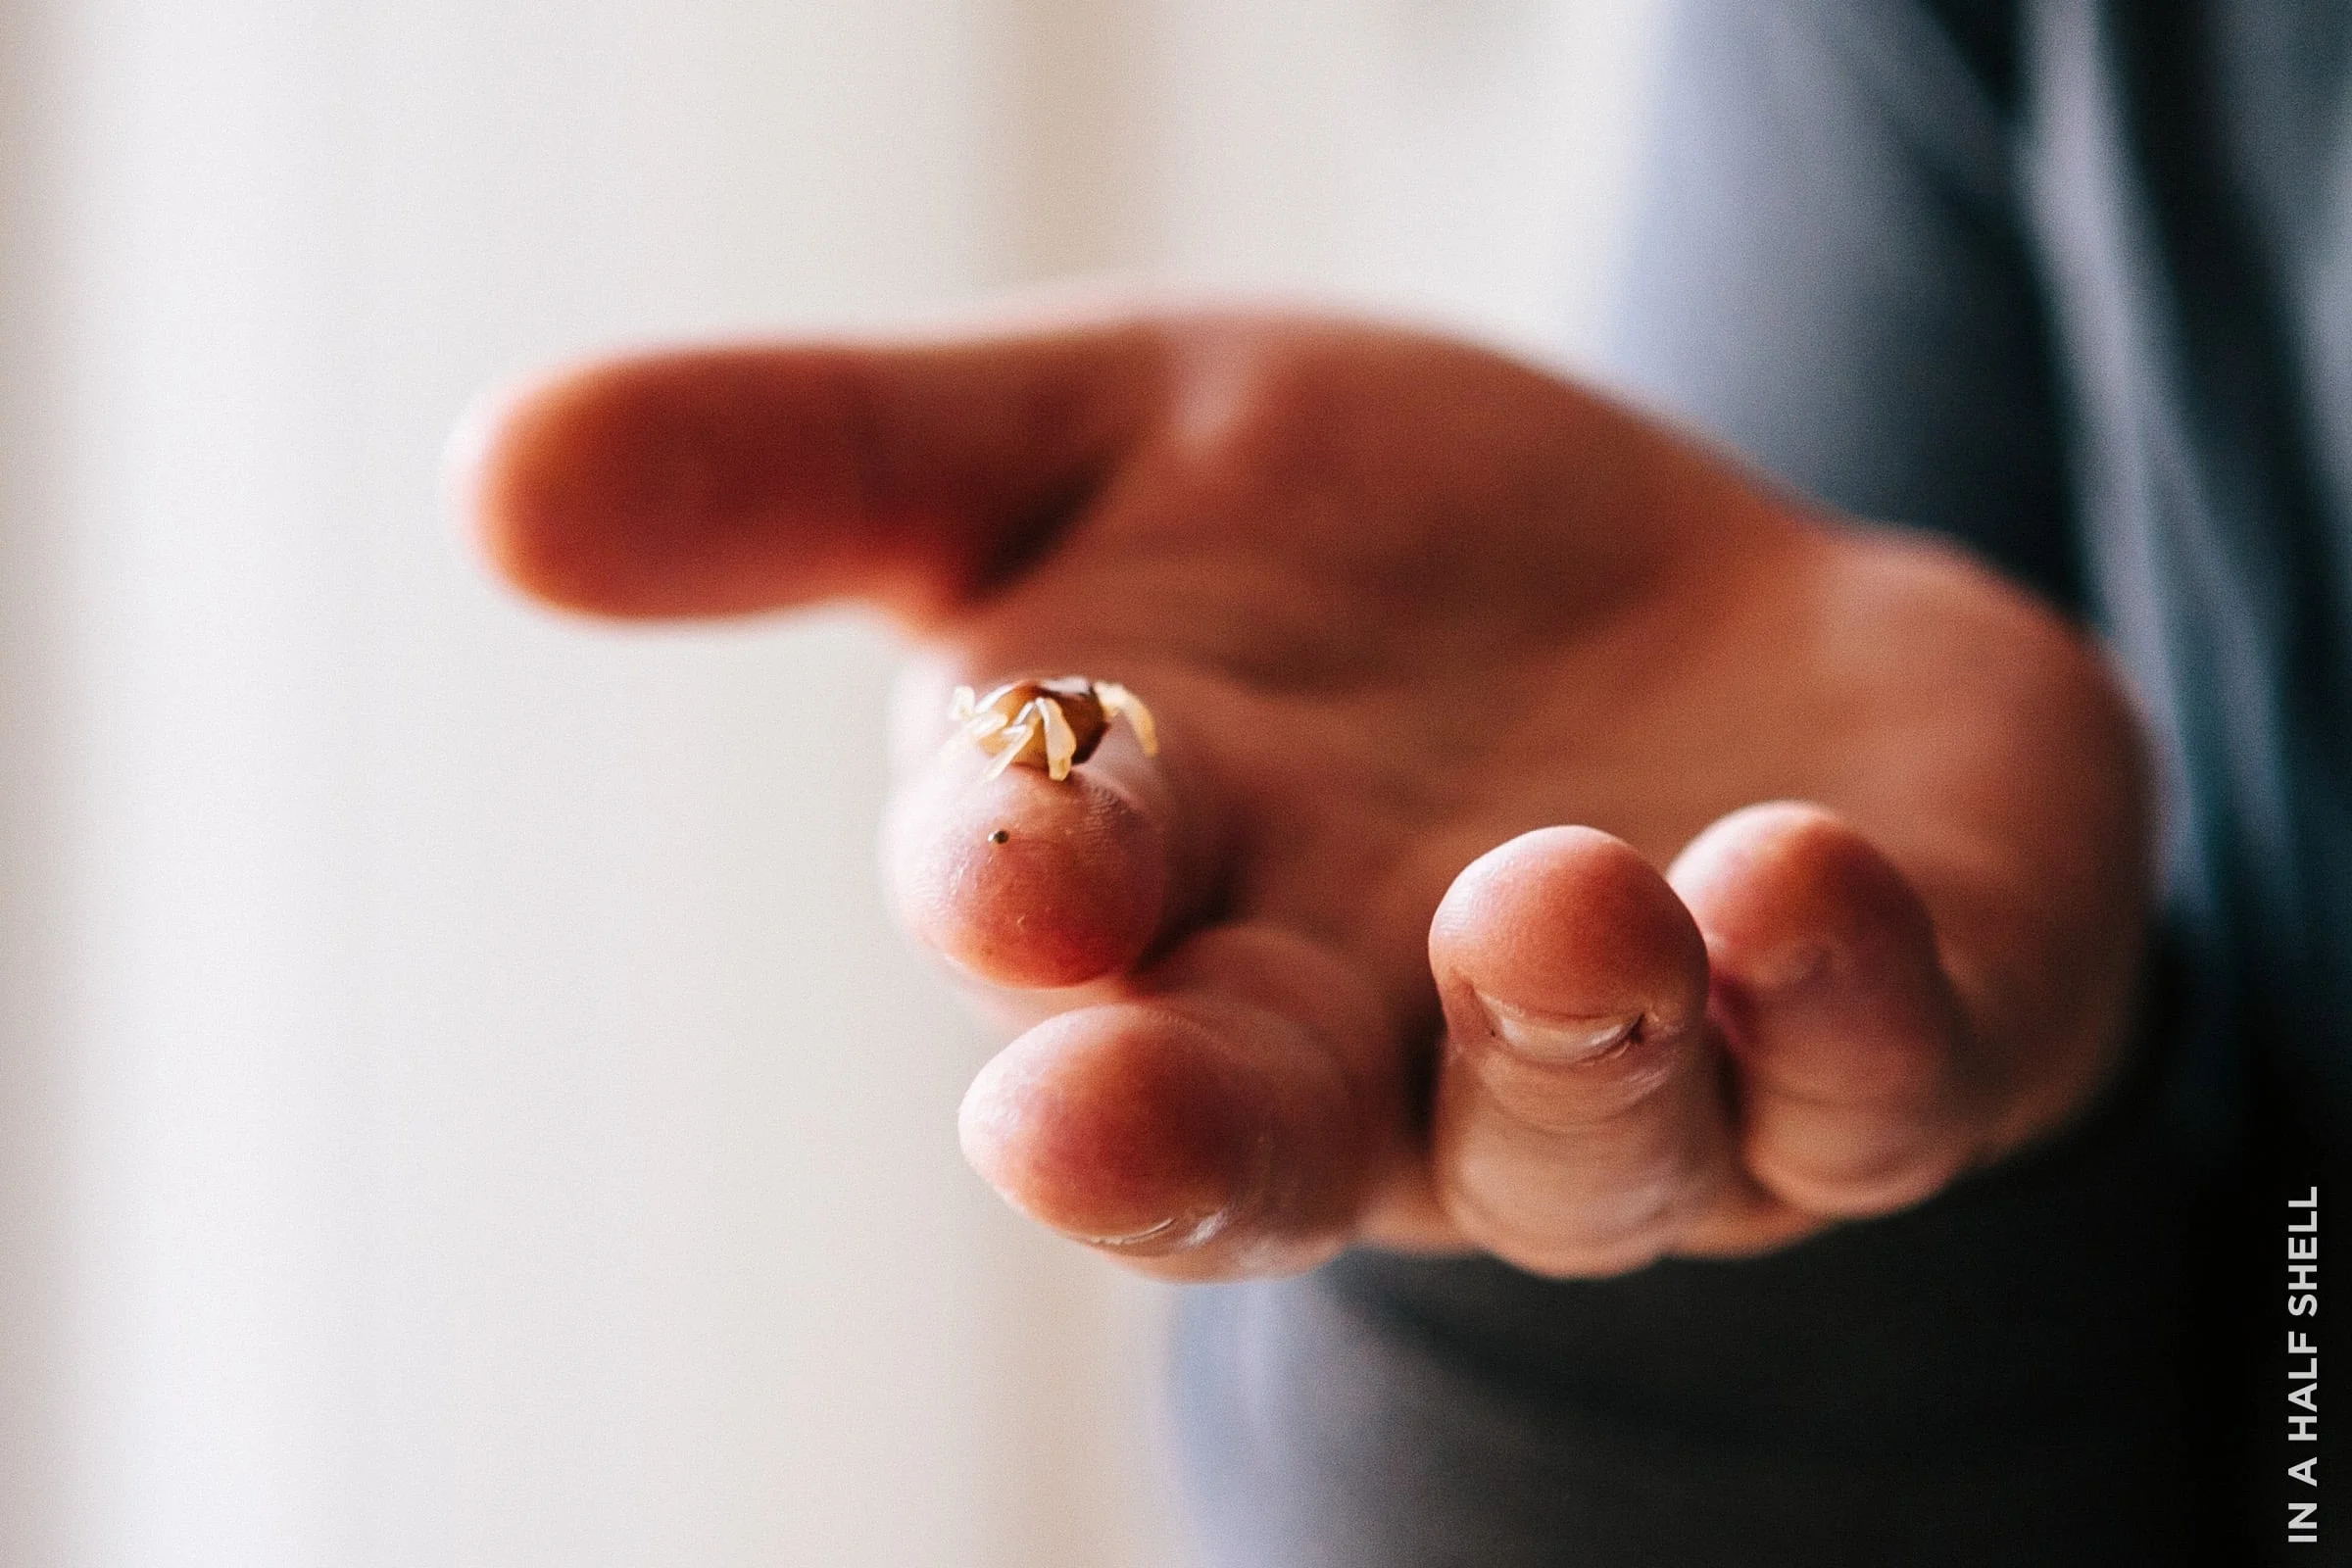
Amidst the oyster bellies, we found a few stowaways.
A few of the oysters had "cute" little translucent oyster crabs hidden inside. They're known as pea crabs and they are completely normal to see. They are simply using the oyster for protection and help themselves to the oyster's food, but they don't gnaw at the mollusk themselves. Back in the day, these little critters were considered to be a delicacy among epicureans. Despite being a little freaky looking, they're quite tame. They can barely lift their little legs. Bryan had the guts to eat one alive. I don't know why I couldn't bring myself to do it. I've definitely consumed more adventurous things before... like live (moving) octopus.
Step 5: Firing Up the Grill
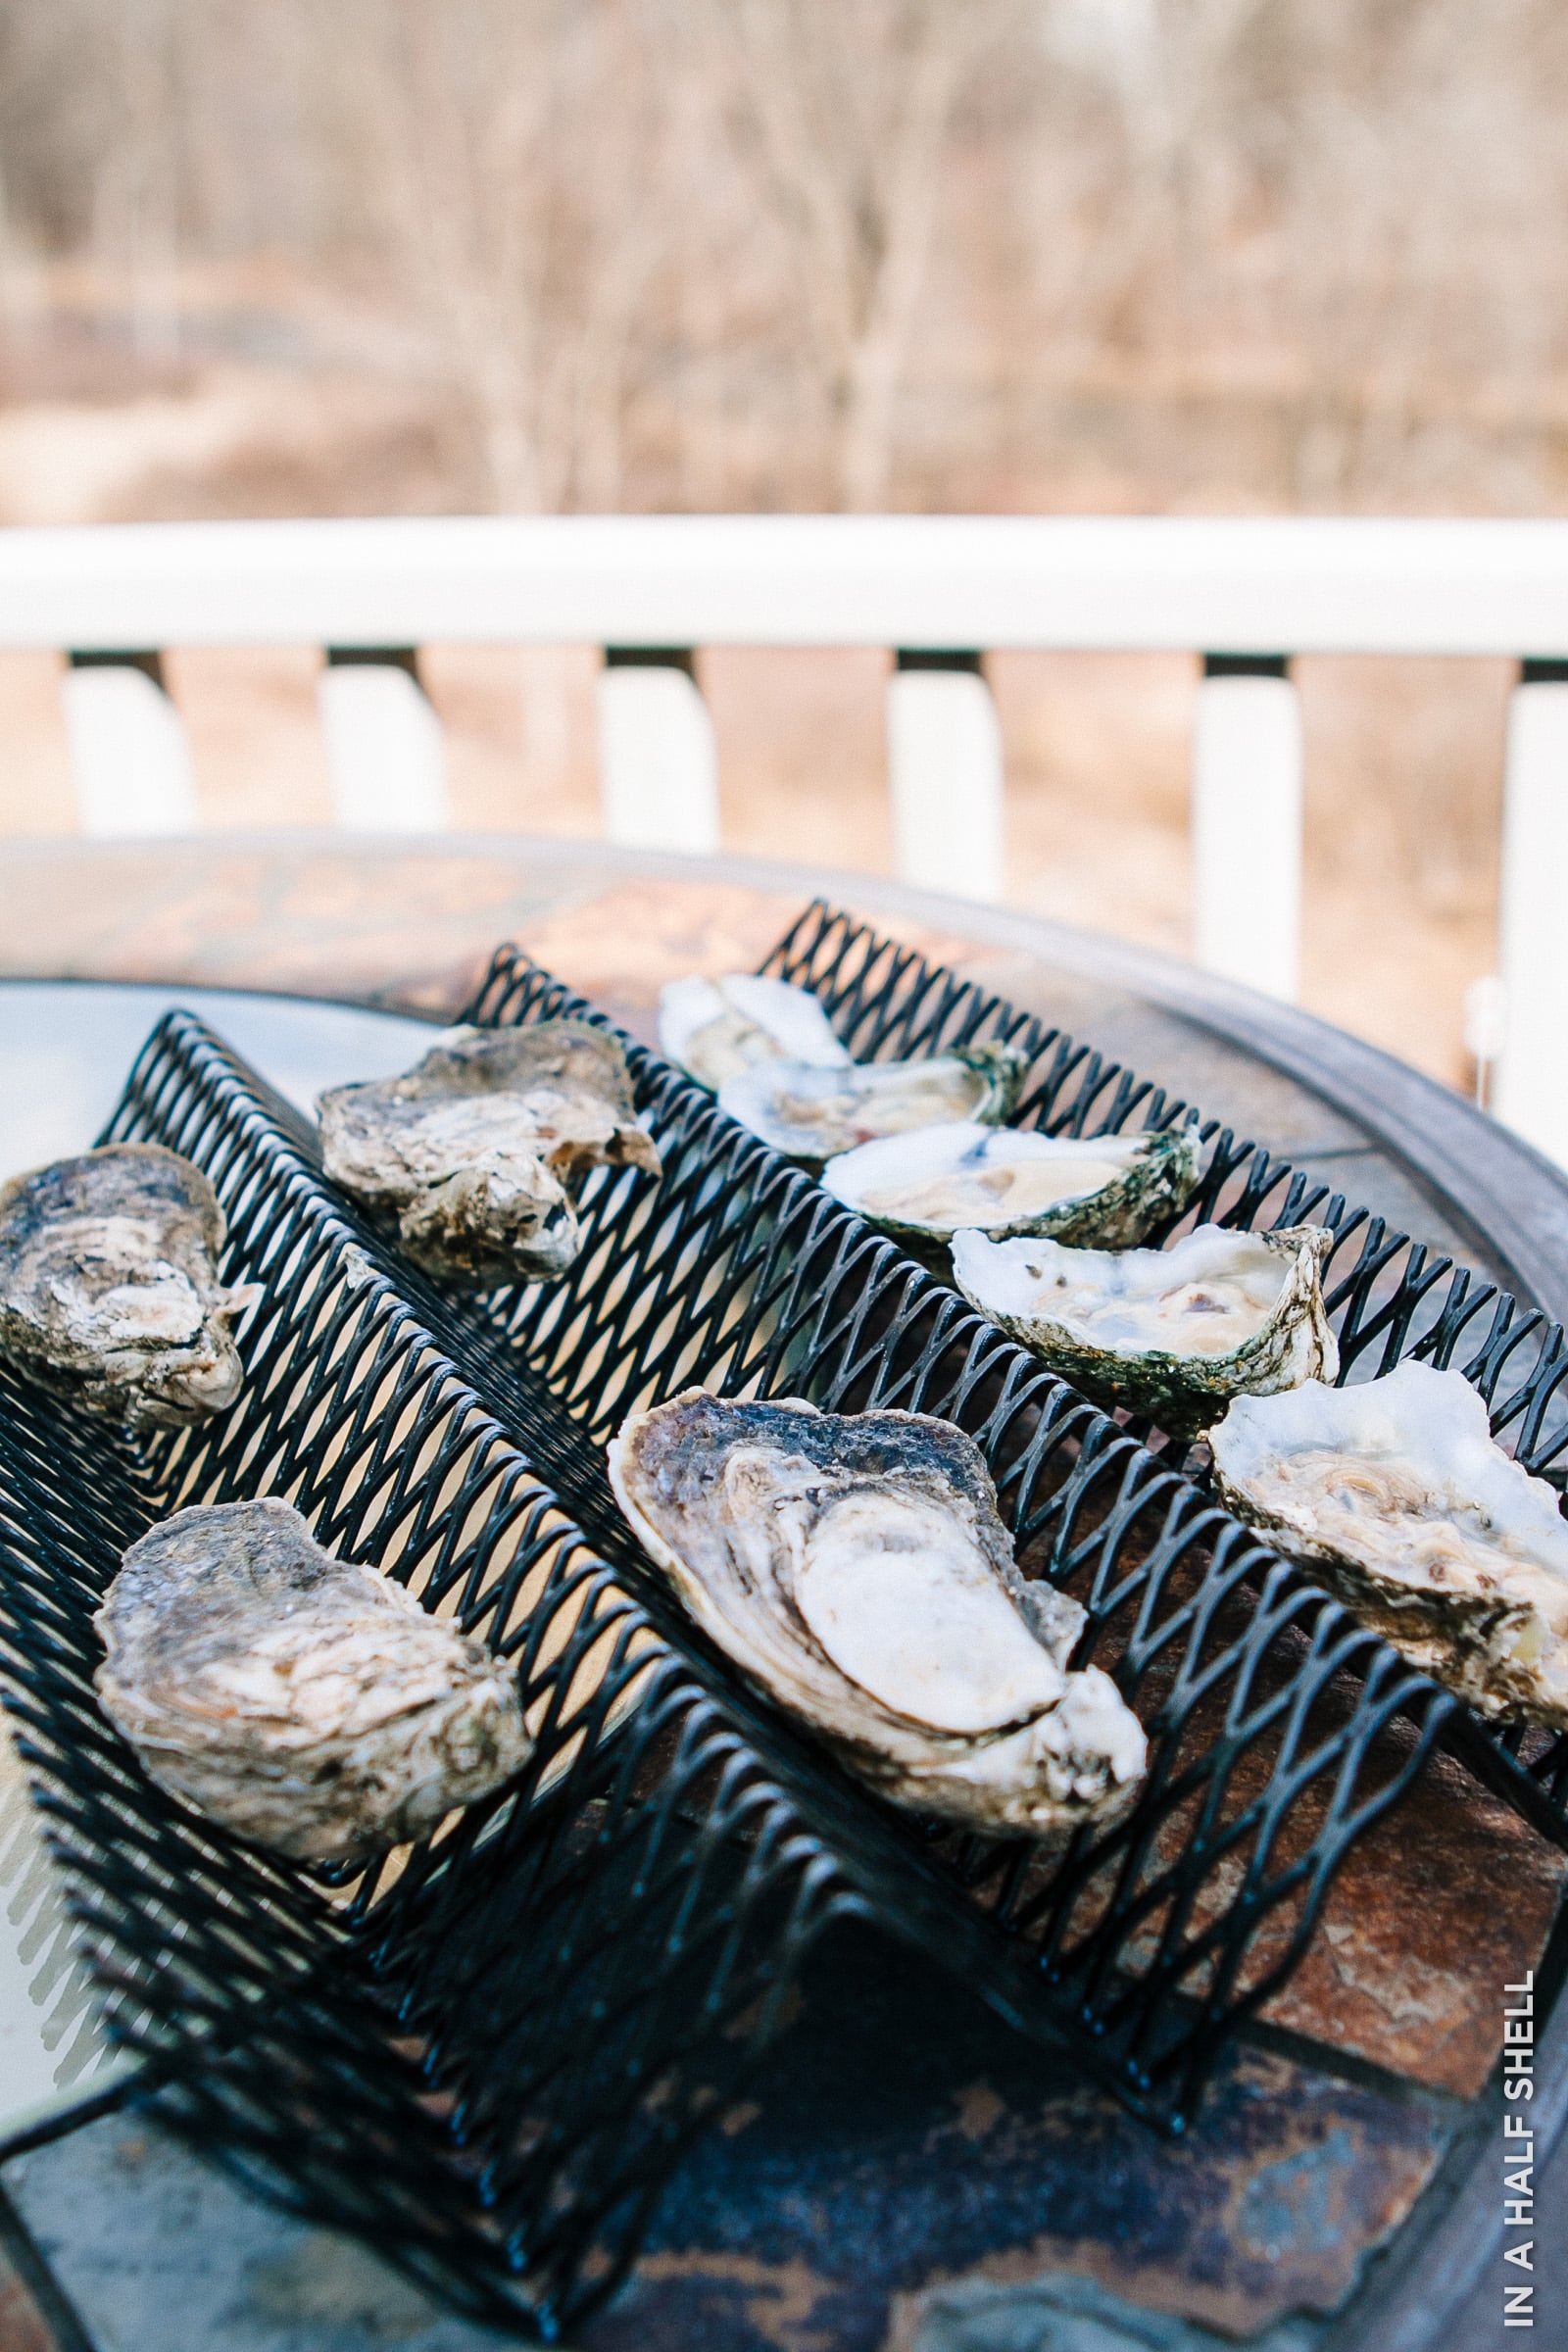
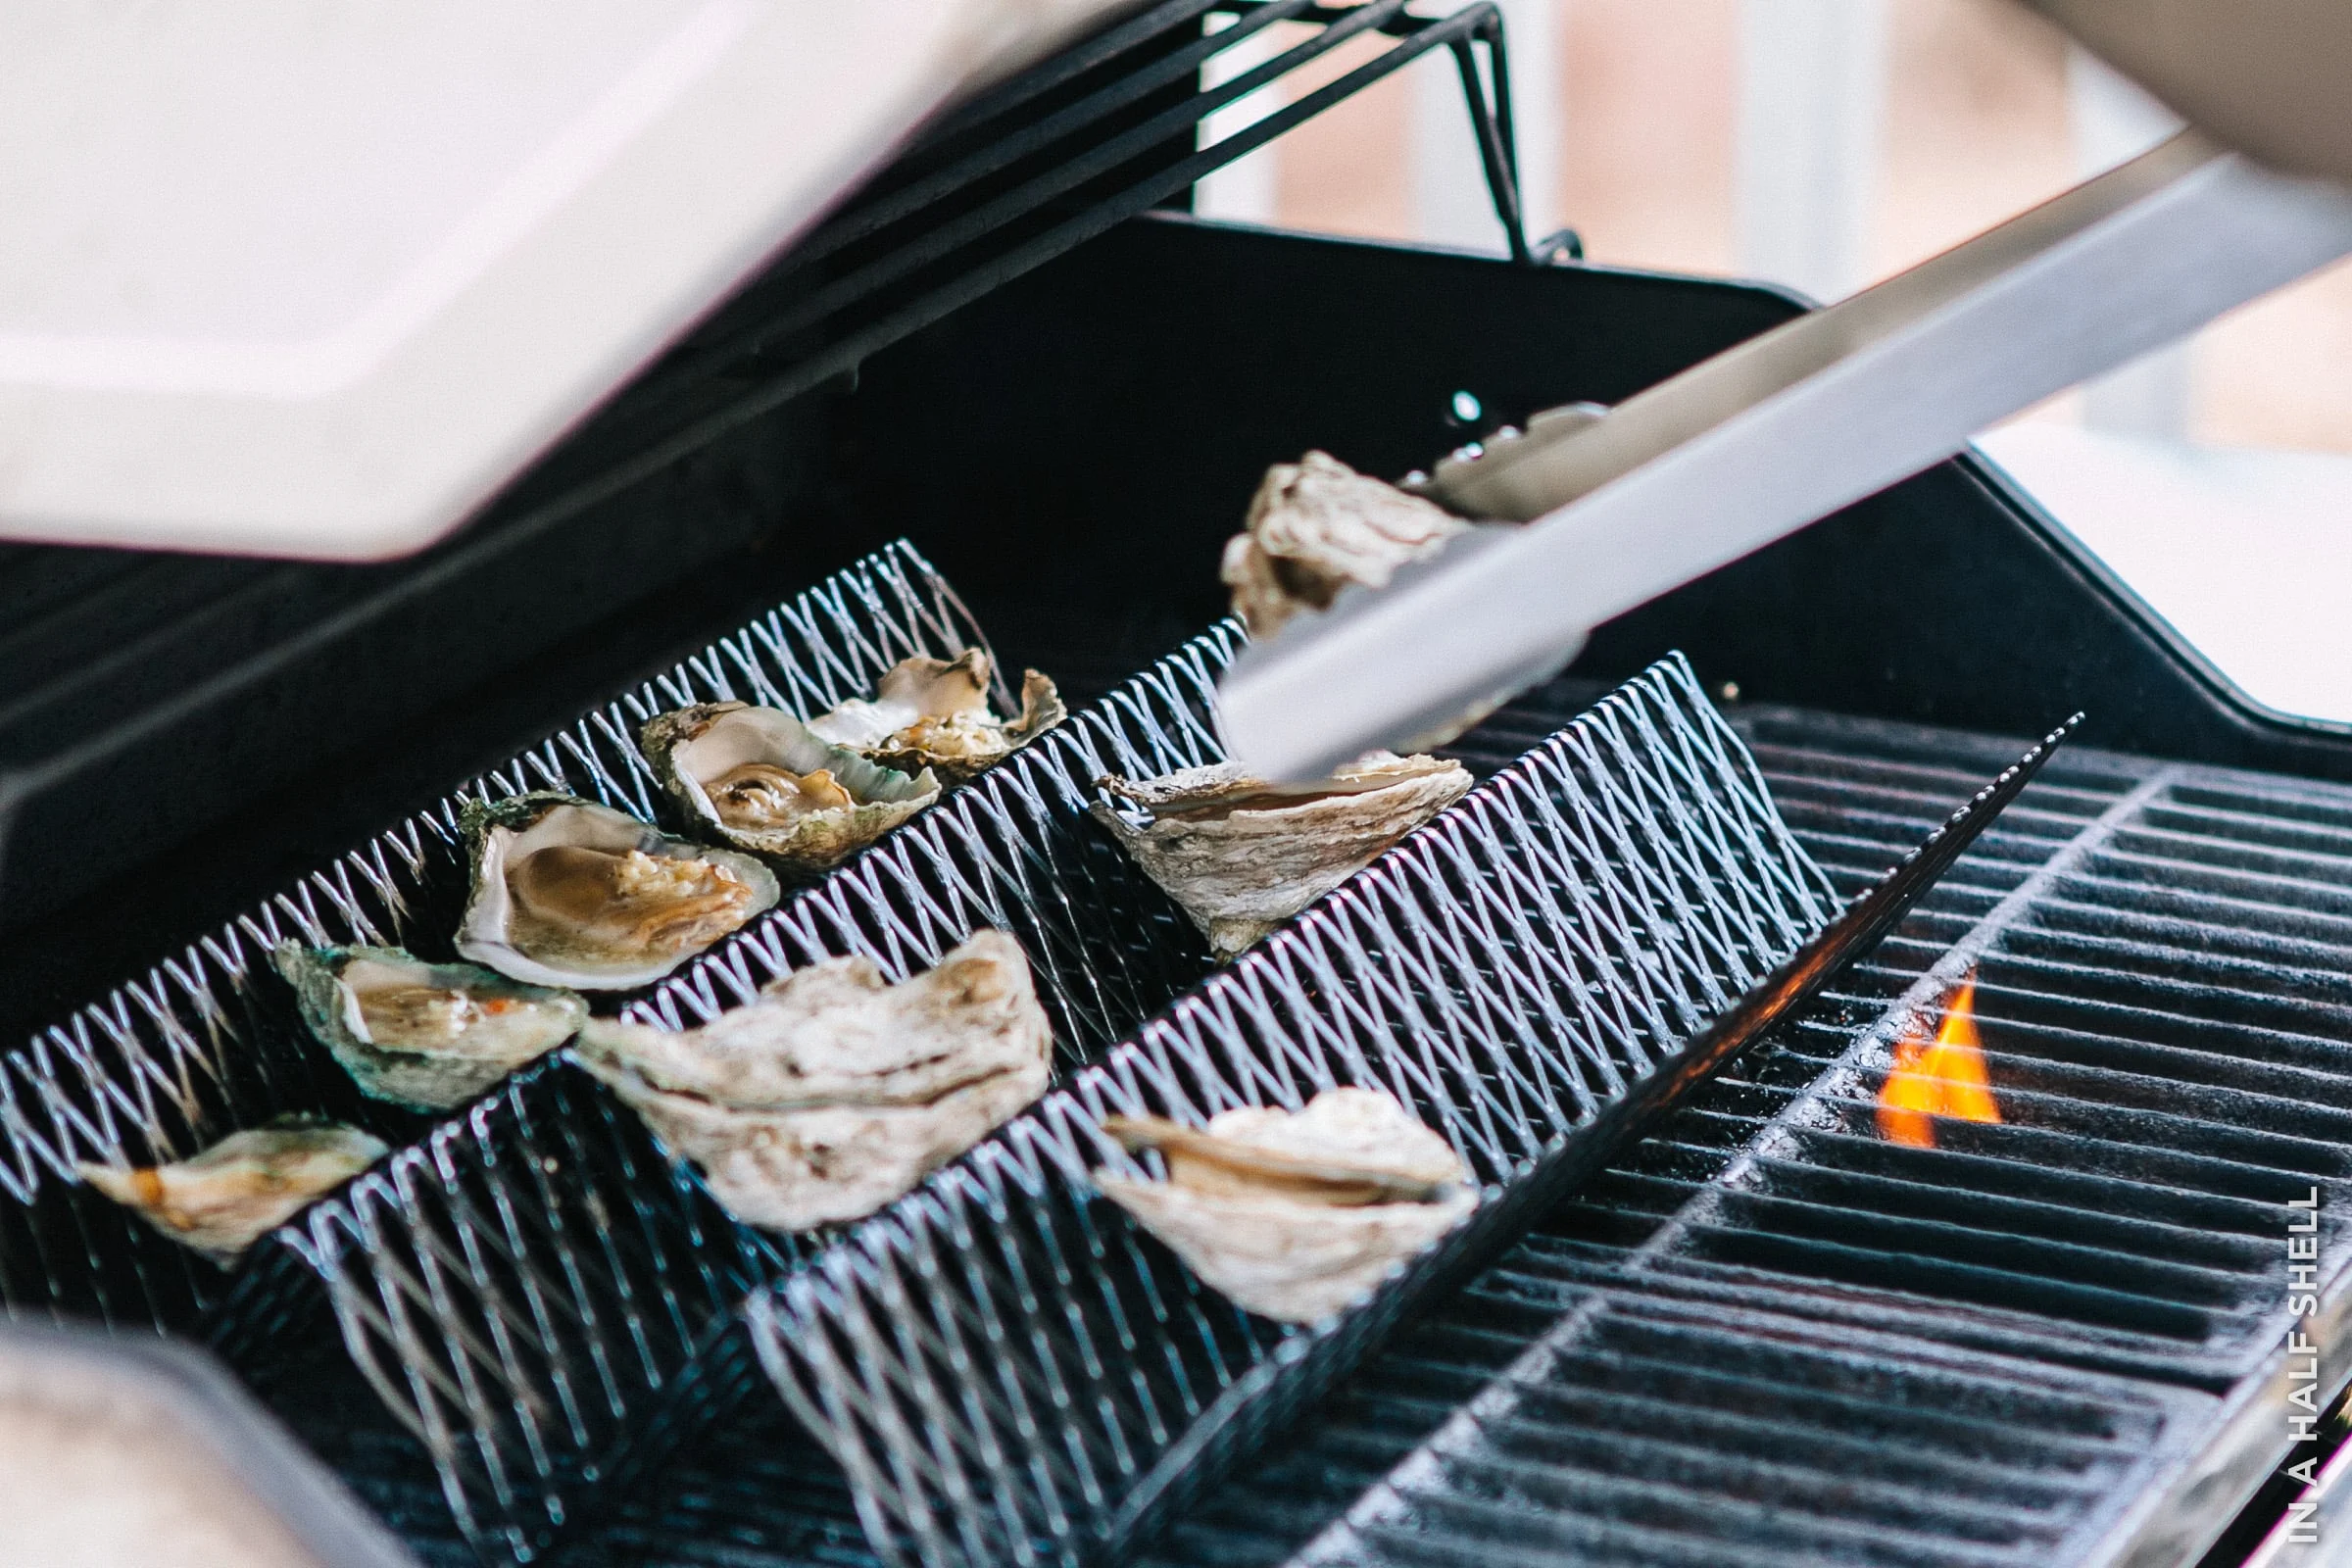
It's not over yet! I purposefully saved the biggest and most formidable oysters for last—to grill. Given their size (4+ inches), they would do well barbecued or oven-roasted. I couldn't wait to try out the BBQ Oyster Grill rack. It's a simple and efficient sheet of perforated, accordion-bent steel that allows for the oyster to be held upright no matter what the shell is like. I tried a combination of cooking them on the half shell and also leaving them completely closed. After a few minutes on the fire, they popped open with ease.
I can't even imagine how grilling without this rack would work. On a flat or even grated surface, the oysters would most likely tip over and spill its juices. I suppose you could always make a ghetto rack out of aluminum foil, but who really has the time? This was definitely the way to go.
With grilling comes a whole new set of sauces and recipes. Hot sauce is a trusted standby, but I would highly recommend experimenting with others. I created a savory garlic butter sauce for our batch. The next time around, I'd opt for a bolder concoction for this kind of oyster.
Here are some great BBQ oyster sauces to try:
And if you're REALLY trying to impress someone, check out my Roasted Oysters with Uni Butter recipe!
Naturally, the final family verdict on this seafood treat was a unanimous thumbs up!
If you are planning to enjoy oysters at your home for the first time, do let me know how it goes. If you have a question, feel free to ask in the comments section. Oh, and be sure to check out my Oyster Mastery class on Skillshare!