How to Shuck Oysters Better
In the era of Instagram Live and YouTube, getting schooled on how to shuck oysters has become pretty commonplace. However, mastering the art of the shuck takes lots of time, practice, and know-how.
These five tips have been monumental in helping me get to the next level as a competent and reasonably fast amateur shucker.
I've been shucking oysters in my home kitchen for many years, obsessing over everything from the best knife to trying different techniques that result in perfectly clean shucks. For the first few hundred oysters, shucking was HARD. The process was tedious, strenuous at times, and on one occasion, quite painful! Little by little, I began to improve.
If you aren't familiar with the basic mechanics of shucking, check out my How to Shuck an Oyster guide.
Tip #1: Get a Grip
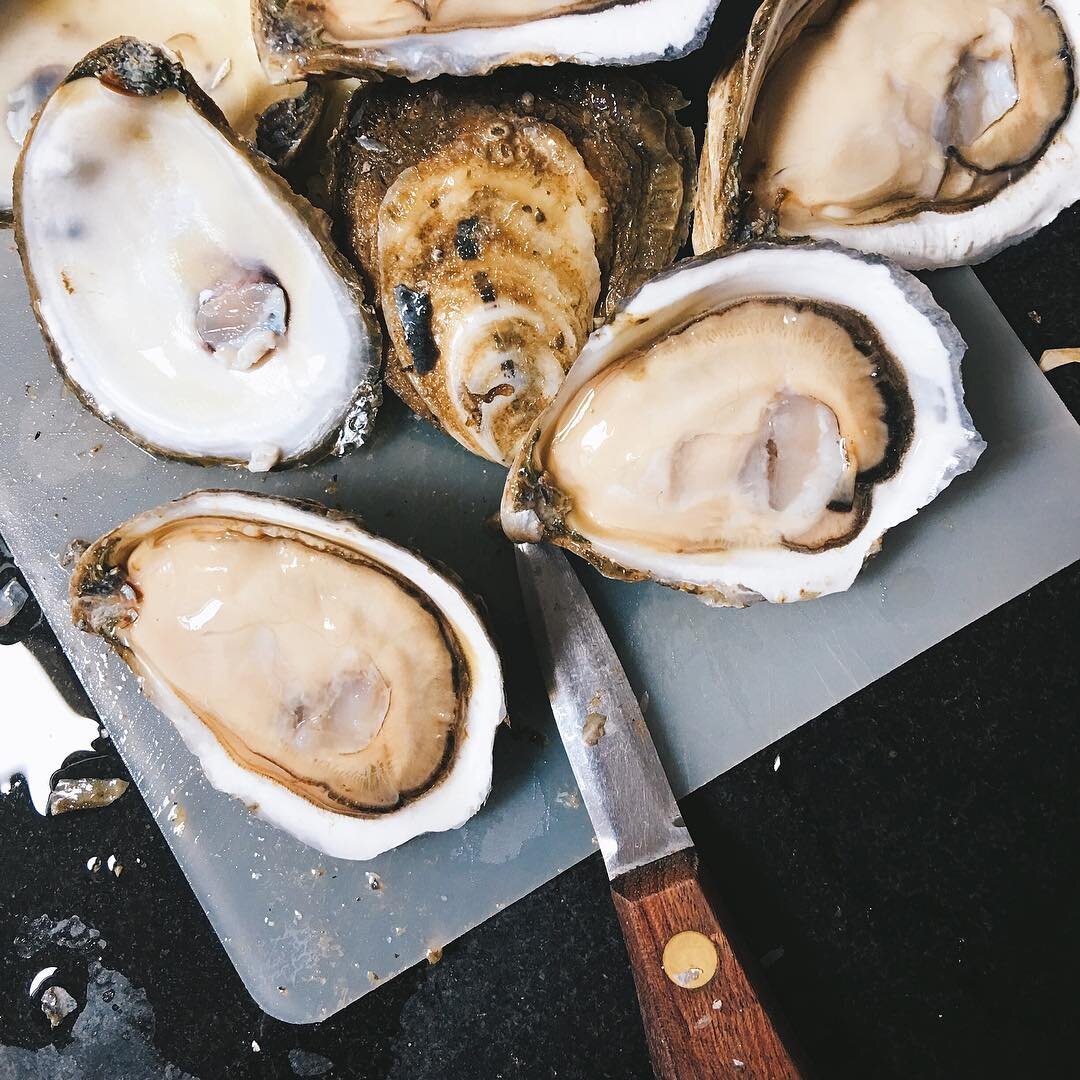
One of the first rookie moves you might make while oyster shucking is being too timid or delicate with your grip on the oyster. Don't be scared! It's not going to bite you.
"Hold the oyster like you mean it so that it cannot move while you're shucking. This will allow you to create the most amount of leverage to pop that hinge," instructs Patrick McMurray, author of The Oyster Companion and world champion oyster shucker.
To "hold it like you mean it" means that you've got the majority of your hand around the oyster (using hand protection, of course), and not just your fingertips. The only thing that should be moving is the tip of your knife.
If you're scared about stabbing yourself, there are a few ways to minimize the risk:
Always look at where you're shucking. Do not look away from your hands, even for a second.
Don't use a ton of force all at once. Apply it gradually.
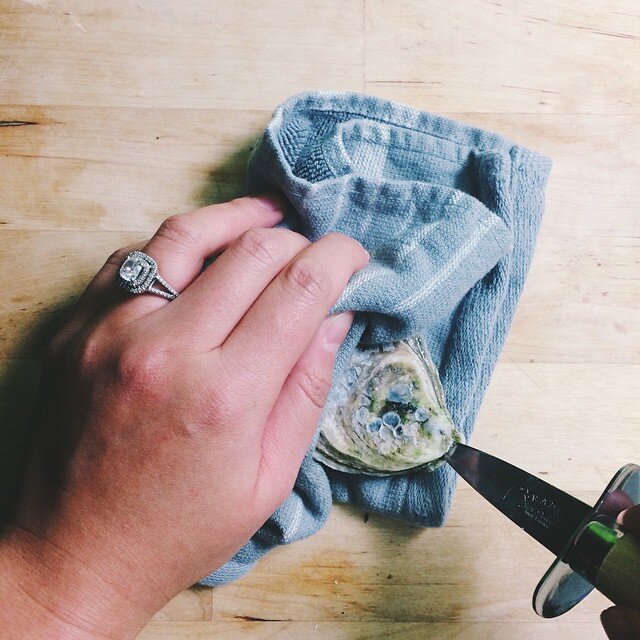
Protect your hand with a towel or glove. And speaking of the glove...
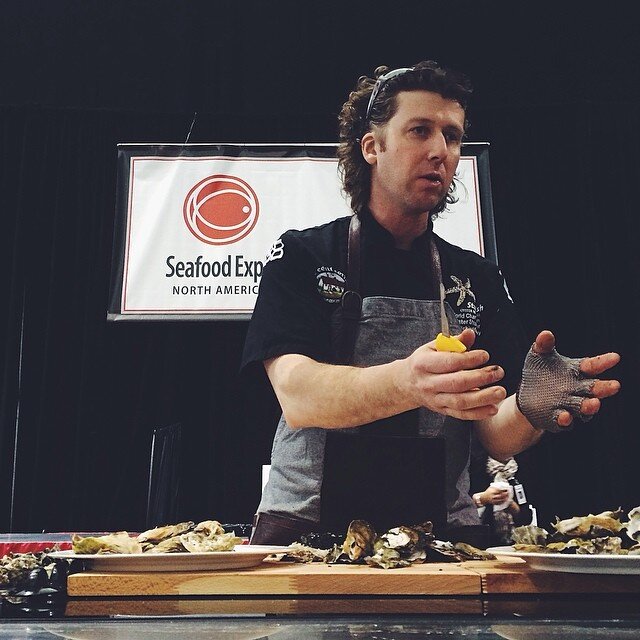
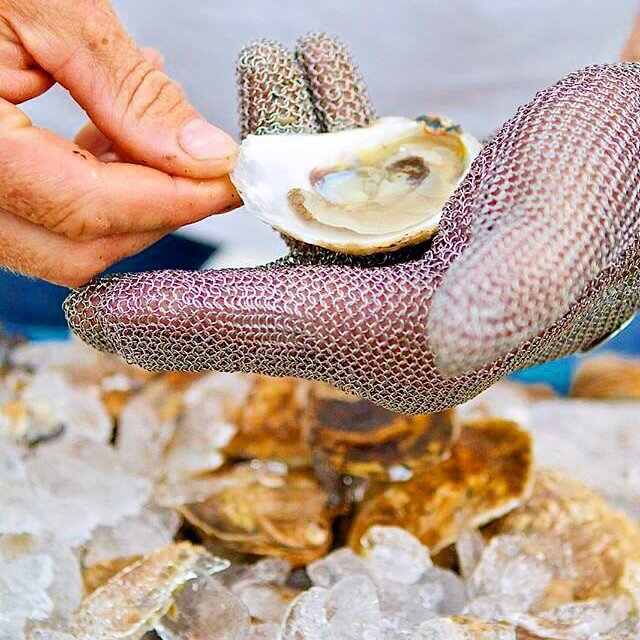
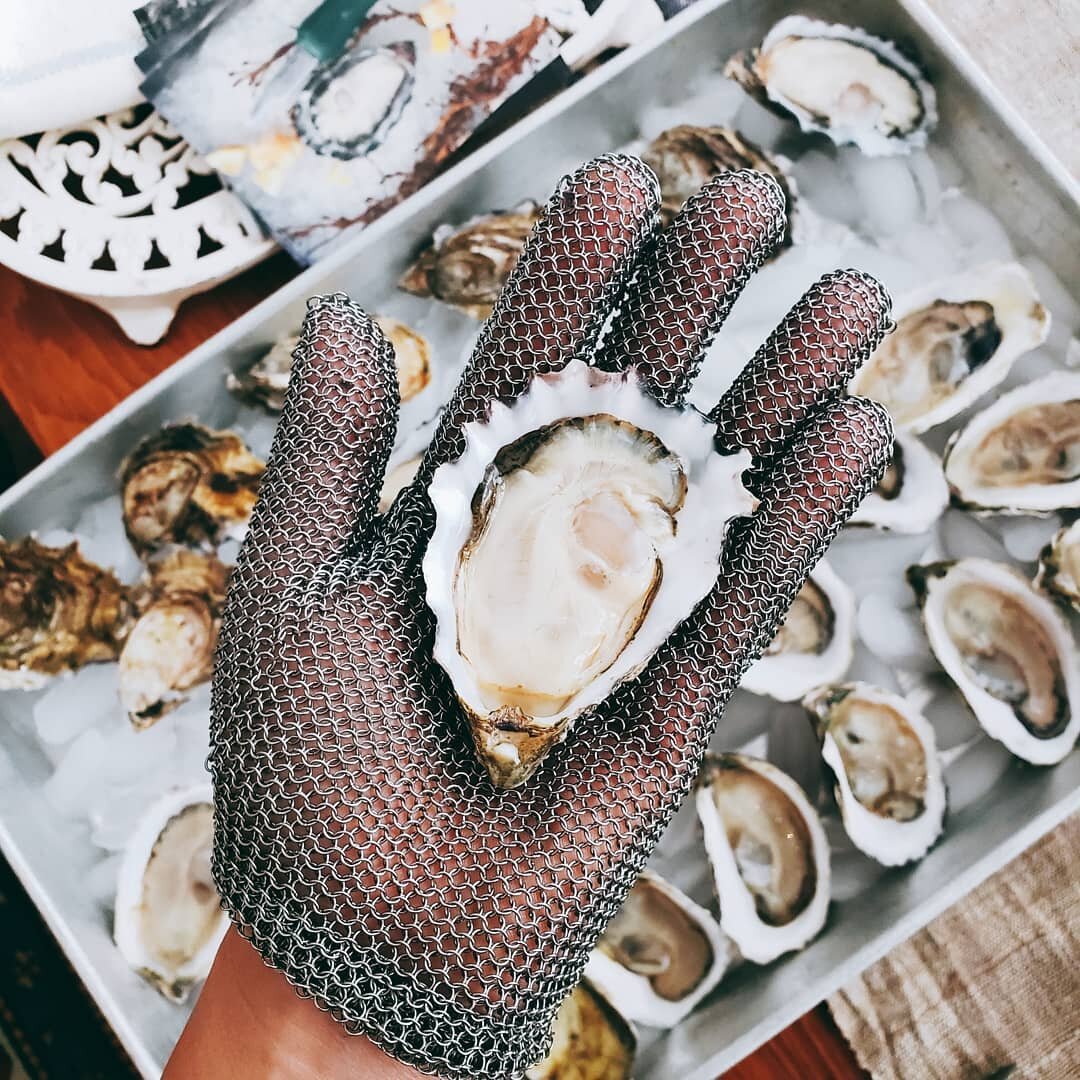
Tip #2 Invest in a Quality Glove
If you're planning to shuck oysters on a semi-regular basis, it's worth buying a well-made, stainless steel chainmail glove. I received mine as a Christmas gift years ago, and it's been the MVP of my oyster toolkit.
Bill Walton (a.k.a. Doctor Oyster) of Auburn University Shellfish Lab is also a fan. "A chainmail glove is a good investment. I haven't seen other gloves, even cut resistant ones, provide as much protection. For somebody doing a lot of oysters, it’s a good way to feel confident even when rushing. For someone new to shucking, it will definitely boost confidence. I’m sure it’s viewed as training wheels by some, but I’ve worked jobs where I’ve seen good shuckers have to take themselves out from behind the bar because of a wound.”
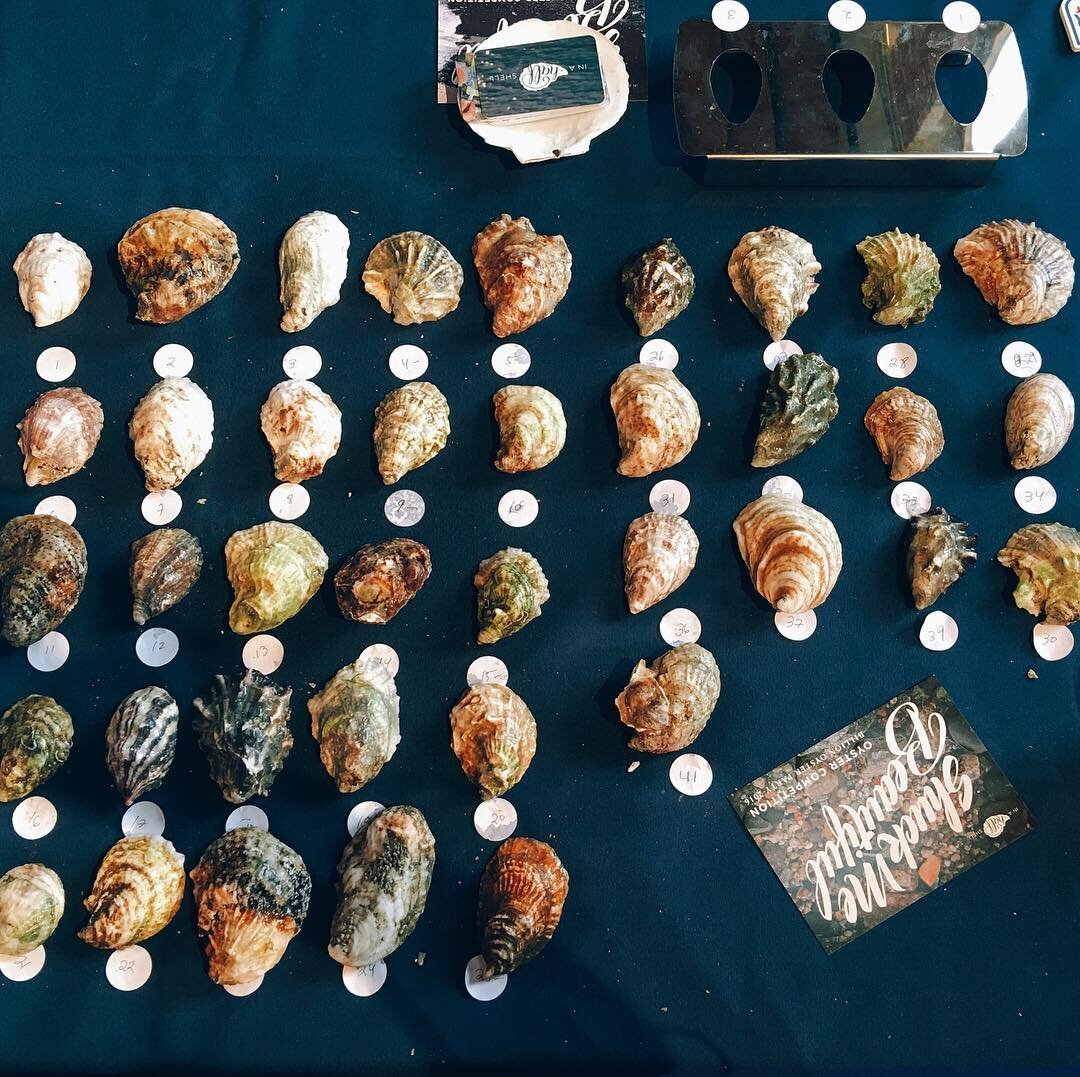
Tip #3 Start with Good Oysters
Have super tough-to-open oysters turned you off from shucking? It doesn't have to end this way! Surprisingly, I've found that the size of the oyster doesn't determine how easy or challenging it is to shuck. An oyster's "shuckability" has more to do with the shell shape (uniform or warped and the angle of the hinge), shell thickness, and shell integrity. Remember: not all oysters are created equal.
Oysters that grow slowly have time to accumulate denser, sturdier shells. You'll have a better shuckin' time with oysters from colder waters (think: Canada, Maine, Massachusetts) or deep-cupped tumbled oysters.
Some oysters are unfortunate victims of sponges, drills, and mud worms that can make the shell porous, weak, or blistered on the inside. These unwanted tagalongs appear across every oyster producing region. In my experience, they are more prevalent in unbranded oysters found in the supermarket than in single-origin, farm-branded oysters.
Tip #4 Use Ice Water as Grit Remover
If you have trouble keeping grit or mud out of the oyster that you just opened, this next trick is clutch.
Greg Babinecz, the SF Oyster Nerd, suggests, "Keep a cup of ice water on the side to dunk your knife and hand in can aid in a cleaner shucking operation. Removing shell debris from the oyster with your knife or gloved hand will drop right off with a dunk in the water."
Once I put this half-shell hack into action, my shucked oysters were much cleaner indeed! Just don't go overboard with this idea and rinse the oyster meat under tap water. That dilutes the natural flavors way too much.
But not all grit will be on the knife. Greg also adds, “Keep an eye out for the oyster's molar. When hinge shucking, there's sometimes a little shell bit that falls out of the crux of the hinge from the bottom shell and into the oyster, frequently requiring a little digging to pull out.”
Tip #5 To Eat or Not To Eat
Finally, just because you opened the oyster doesn't mean that you have to eat it. A less-than-stellar oyster can ruin the rest of your plate, so be selective about what you slurp! Gardner Douglas, the host of the Oyster Ninja Podcast, shares several of his "Should I Eat It" criteria in this excellent and entertaining video. Be sure to check out Gardner’s complete Home Shucking playlist for all of his great videos.